Korong Vale
Korong Vale was a speck of a town with a population of just 238 people in 1981 and most of them would have been railway employees. It was the junction for the Sea Lake and Robinvale lines, during wheat season it was common to send relieving crews there to cope with the heavy traffic. Loaded wheat could be dispatched to either Bendigo where it would travel on to Melbourne and Geelong or it could go to Dunnoly, a large inland wheat storage facility.
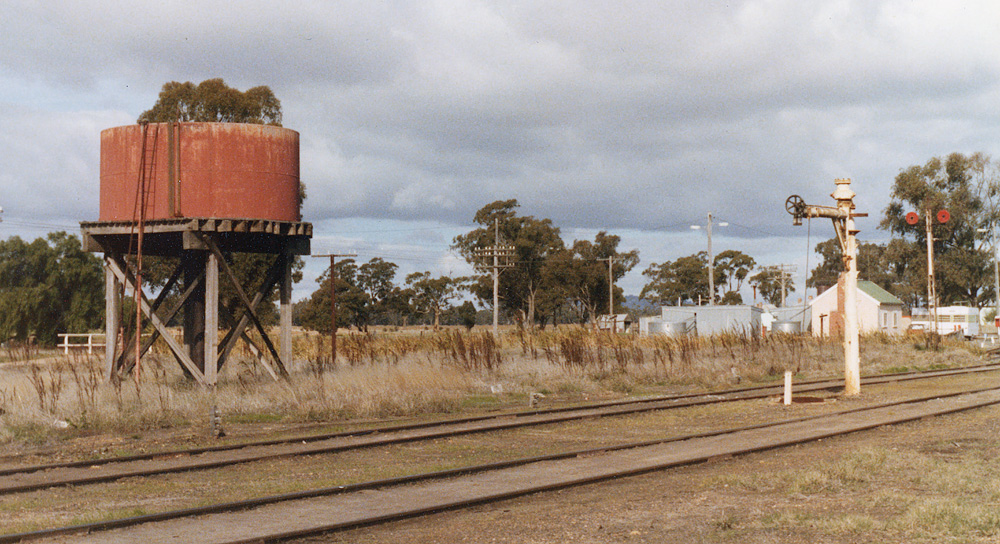
It had two signalboxes, (A box controlled 2 sets of interlocked gates), loco depot and 8 track marshalling yard as well as the usual goods shed, livestock loading facilities and weighbridge. Perusal of the signal diagrams (link above) will show the extent of the yard tracks. It all ended in 1983 when practically everything you see in the following photos was demolished. About the only structure now remaining is the water tank on the down side of the Vernon street level crossing.
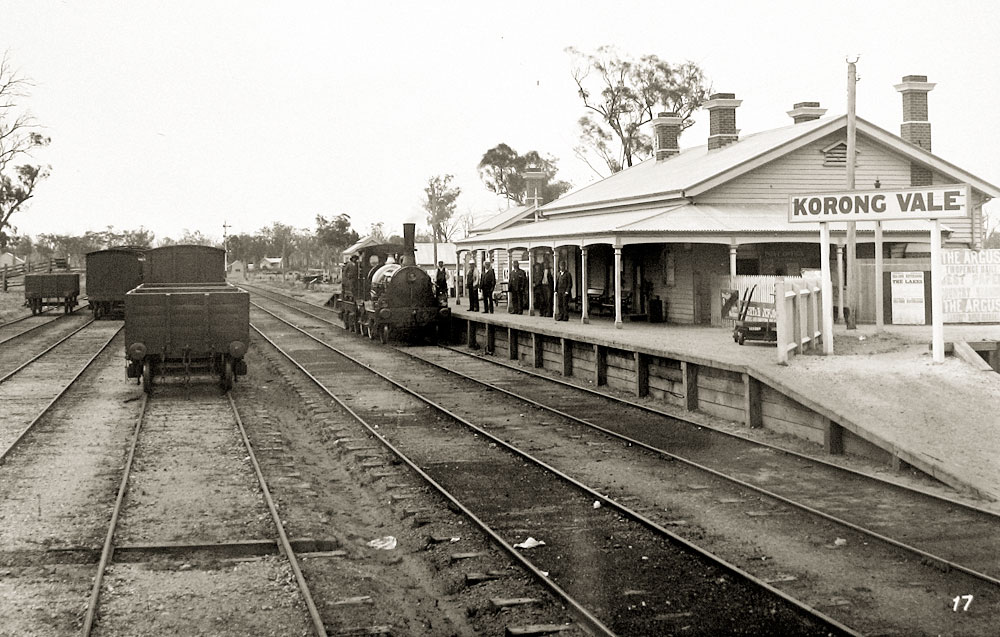
ABOVE: Korong Vale in 1885 looking north. The loco is a rebuilt J class 2-4-0. At the extreme right is what looks like a carriage dock for loading horse drawn carriages onto special flat wagons which were then attached to passenger trains, a service only able to afforded by the wealthy. The railway reached Korong Vale in 1882 (Photo by Emma Nettleton)
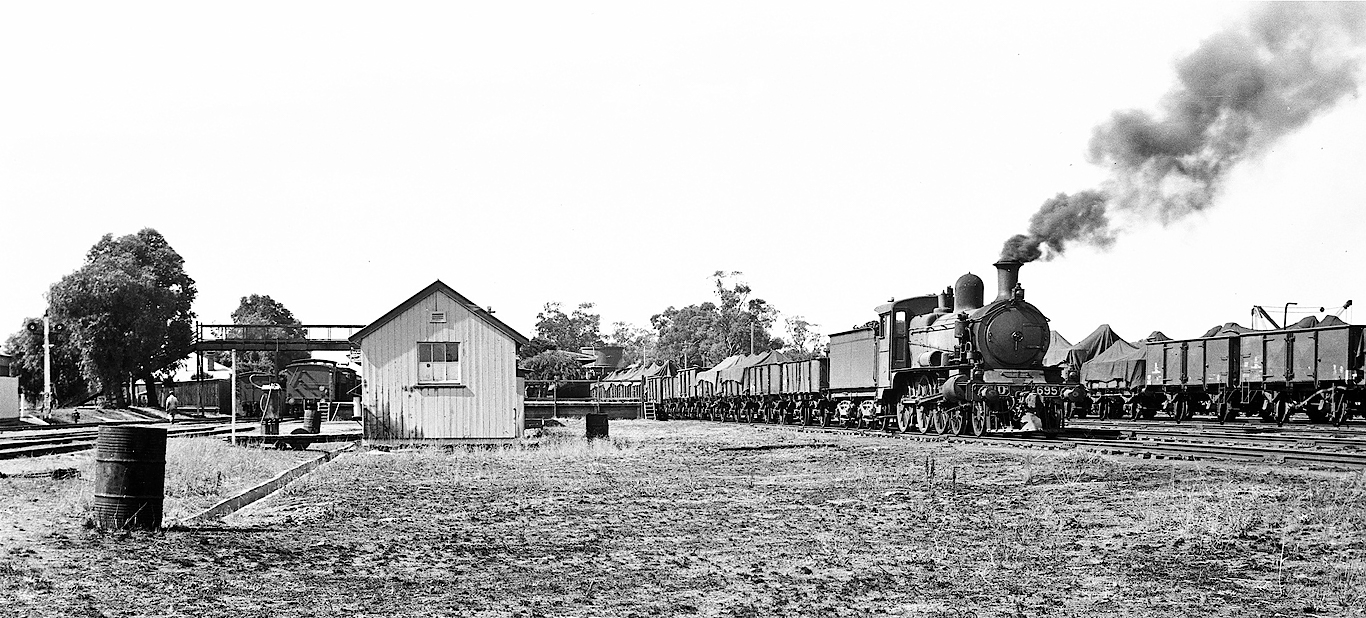
ABOVE: D3 695 on a down goods circa 1947. (photo courtesy Phil Dunn)
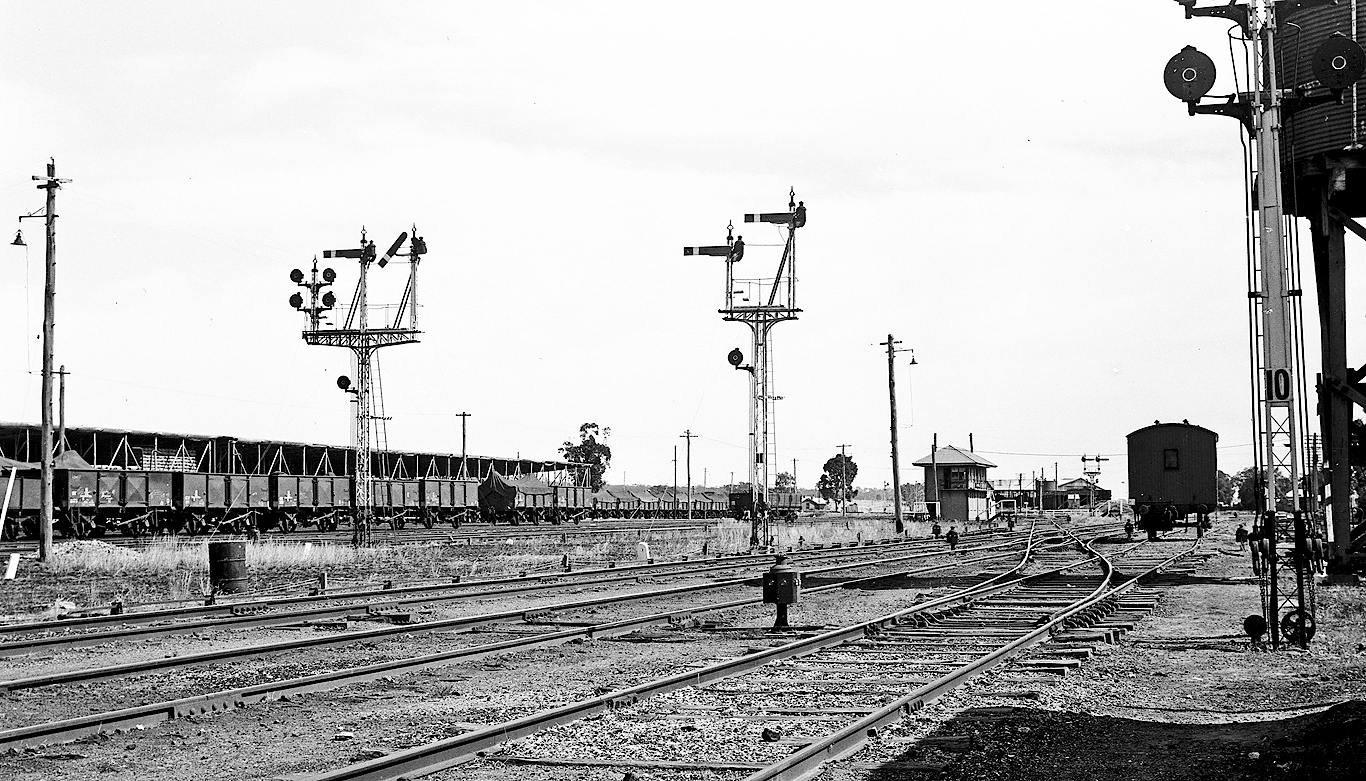
ABOVE: looking northwest with B box on the right, the signal is at proceed for a Robinvale line train, circa 1947 (photo courtesy Phil Dunn)
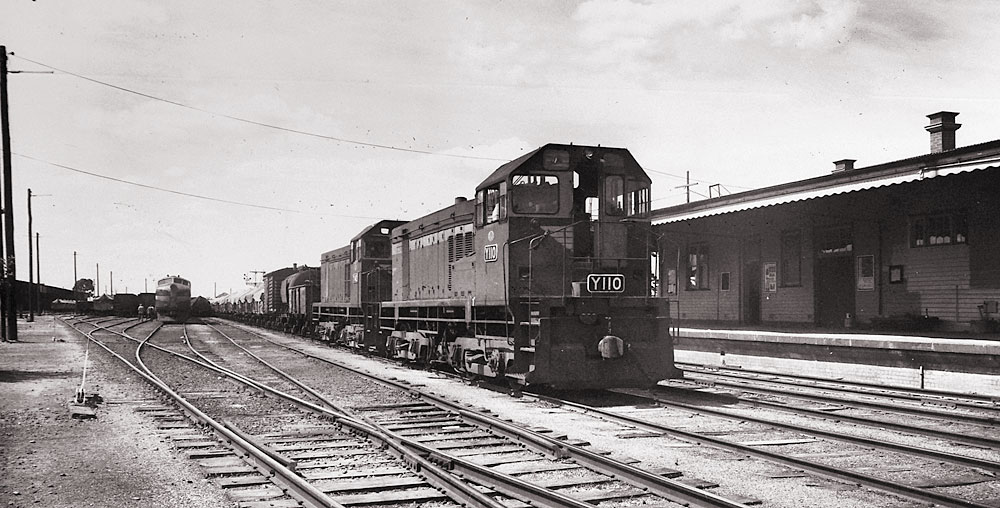
ABOVE: A pair of Y's on an up goods at Korong Vale, Dec. 10 1973 (Official VR photo)
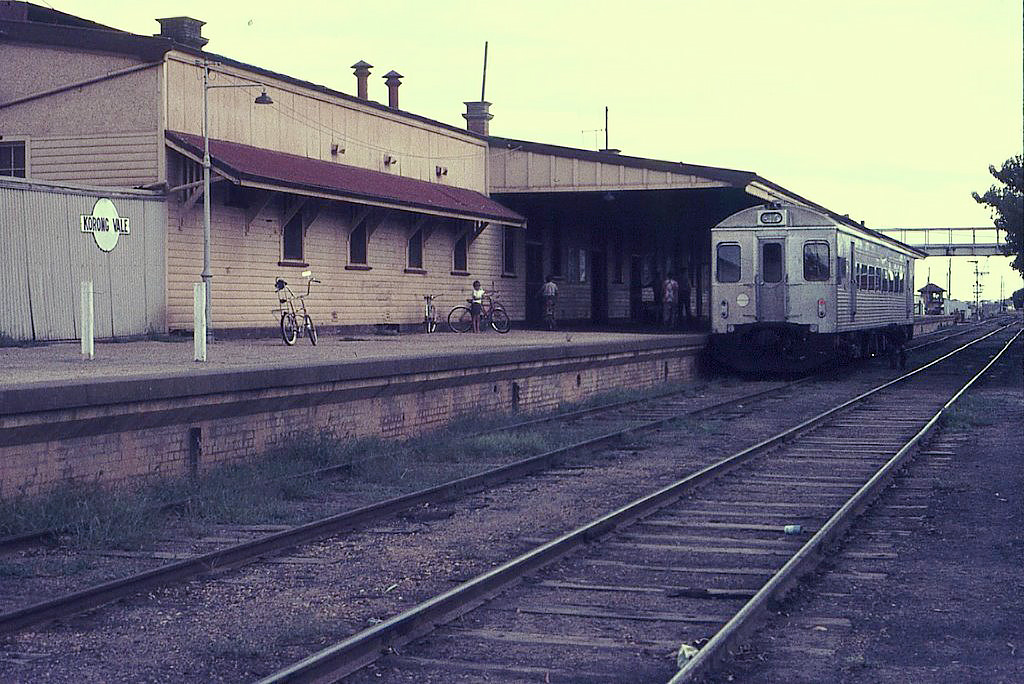
ABOVE: DRC 41 on a railfan special. Feb 16 1974 (Photo Courtesy John Ward)
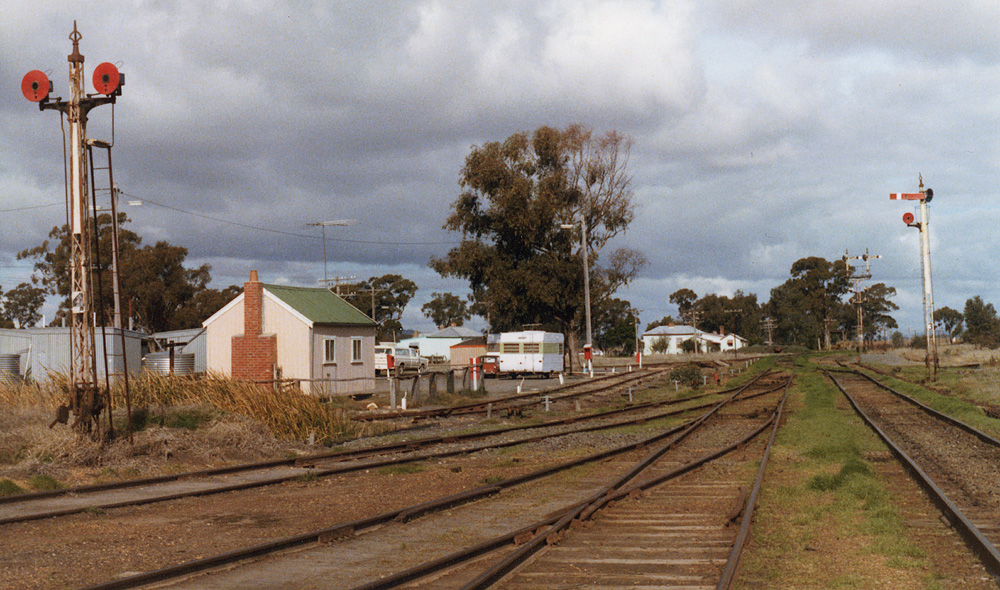
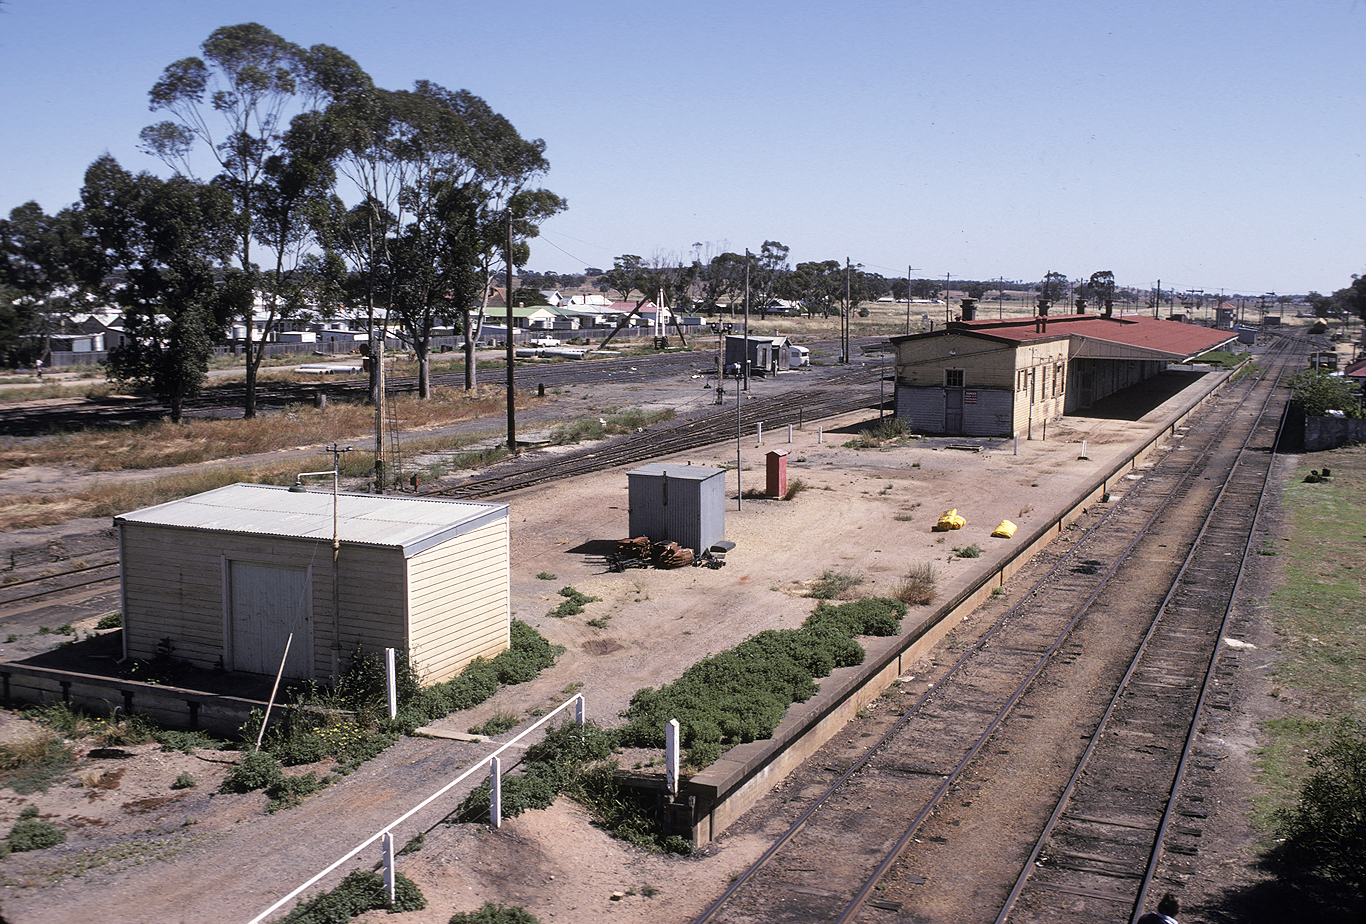
ABOVE & BELOW: The Bendigo end of the yard, the siding near the caravan was a temporary siding for workmens sleepers. 1980.
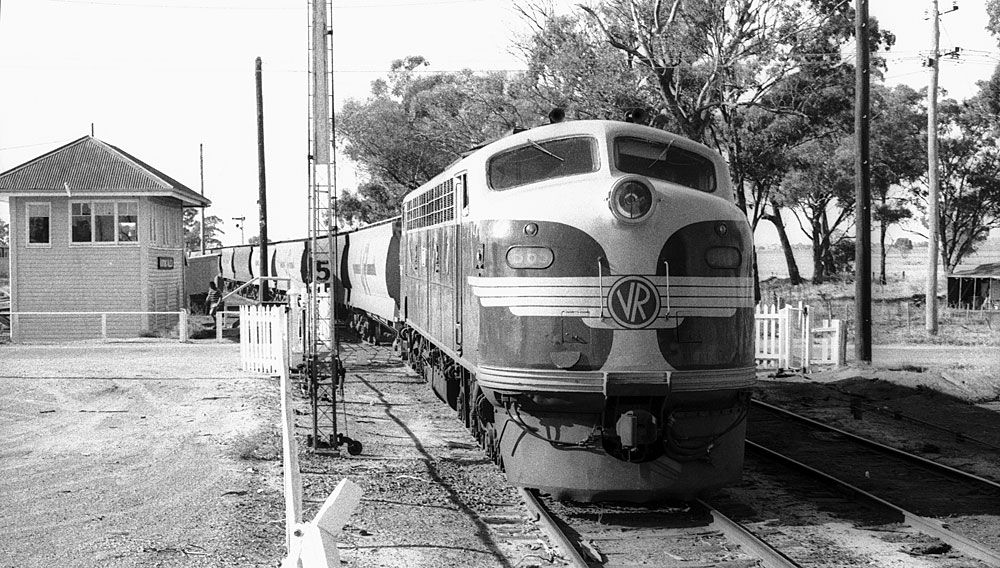
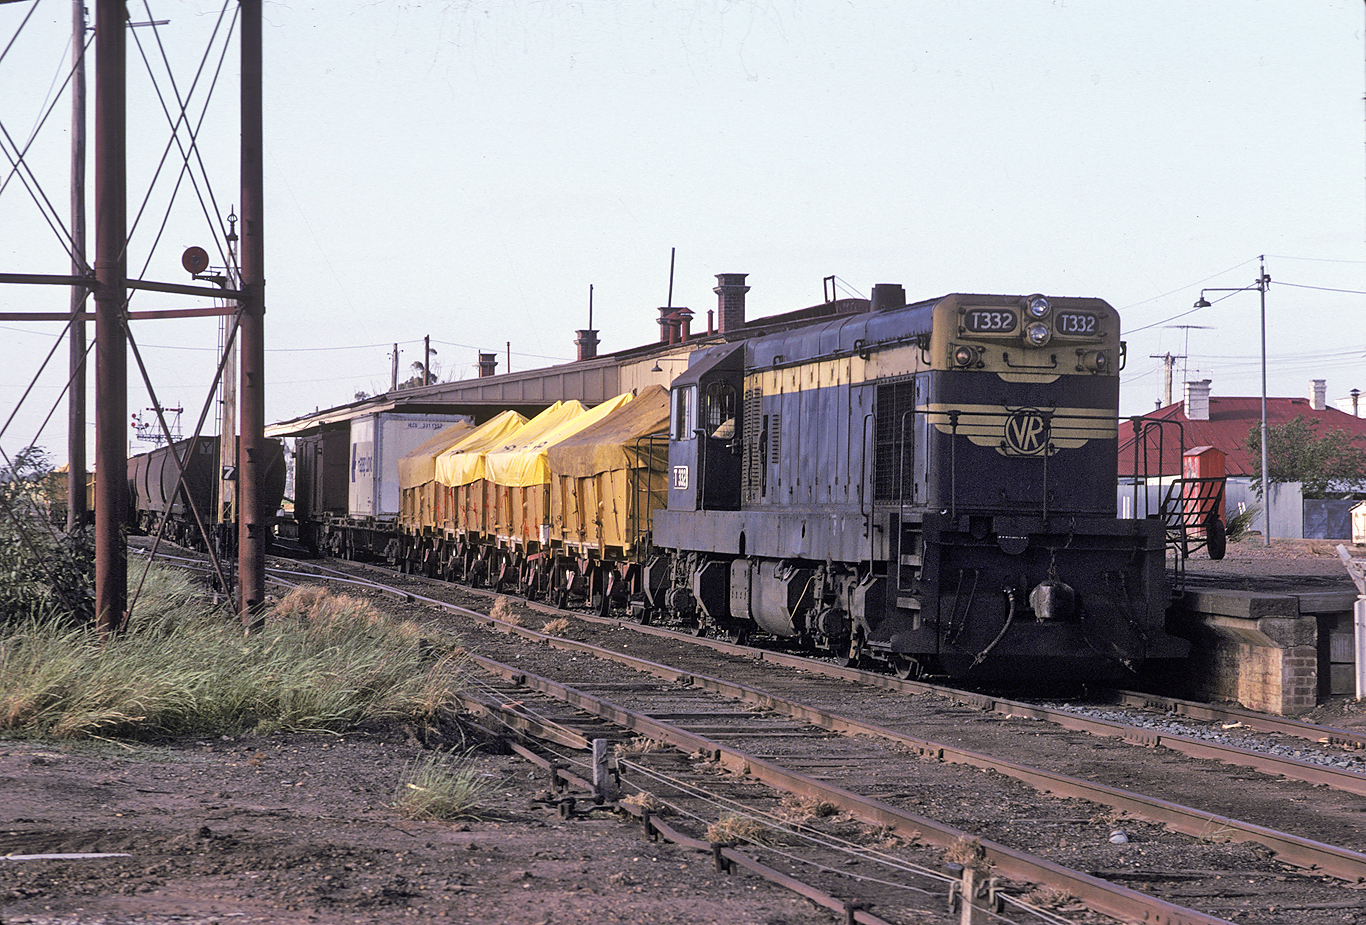
ABOVE: B 65 passes Korong Vale A box as it arrives Korong Vale from Bendigo on an empty wheat train. Jan. 1980
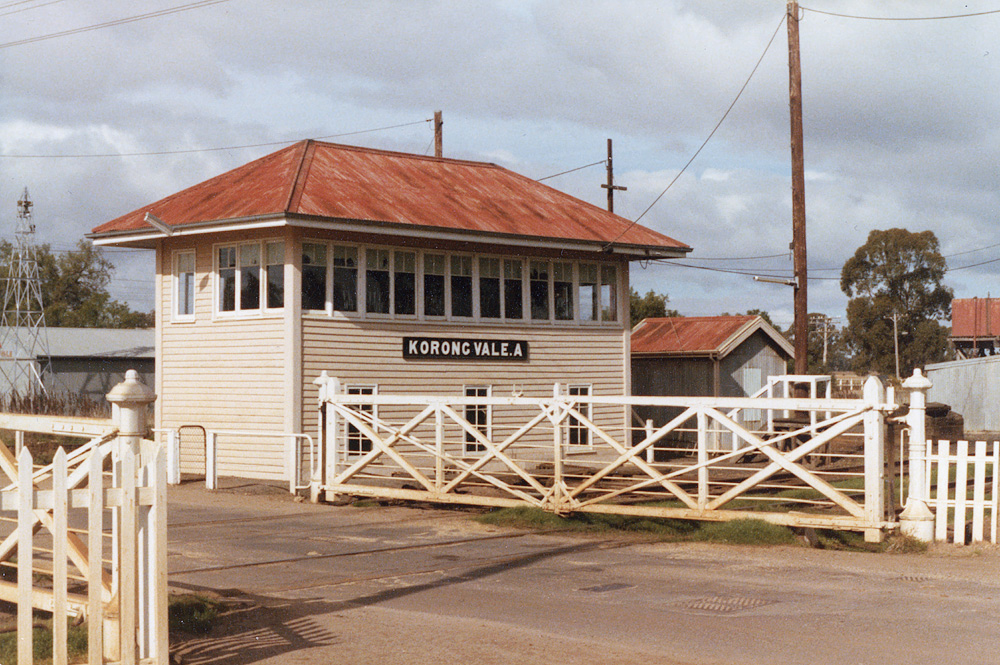
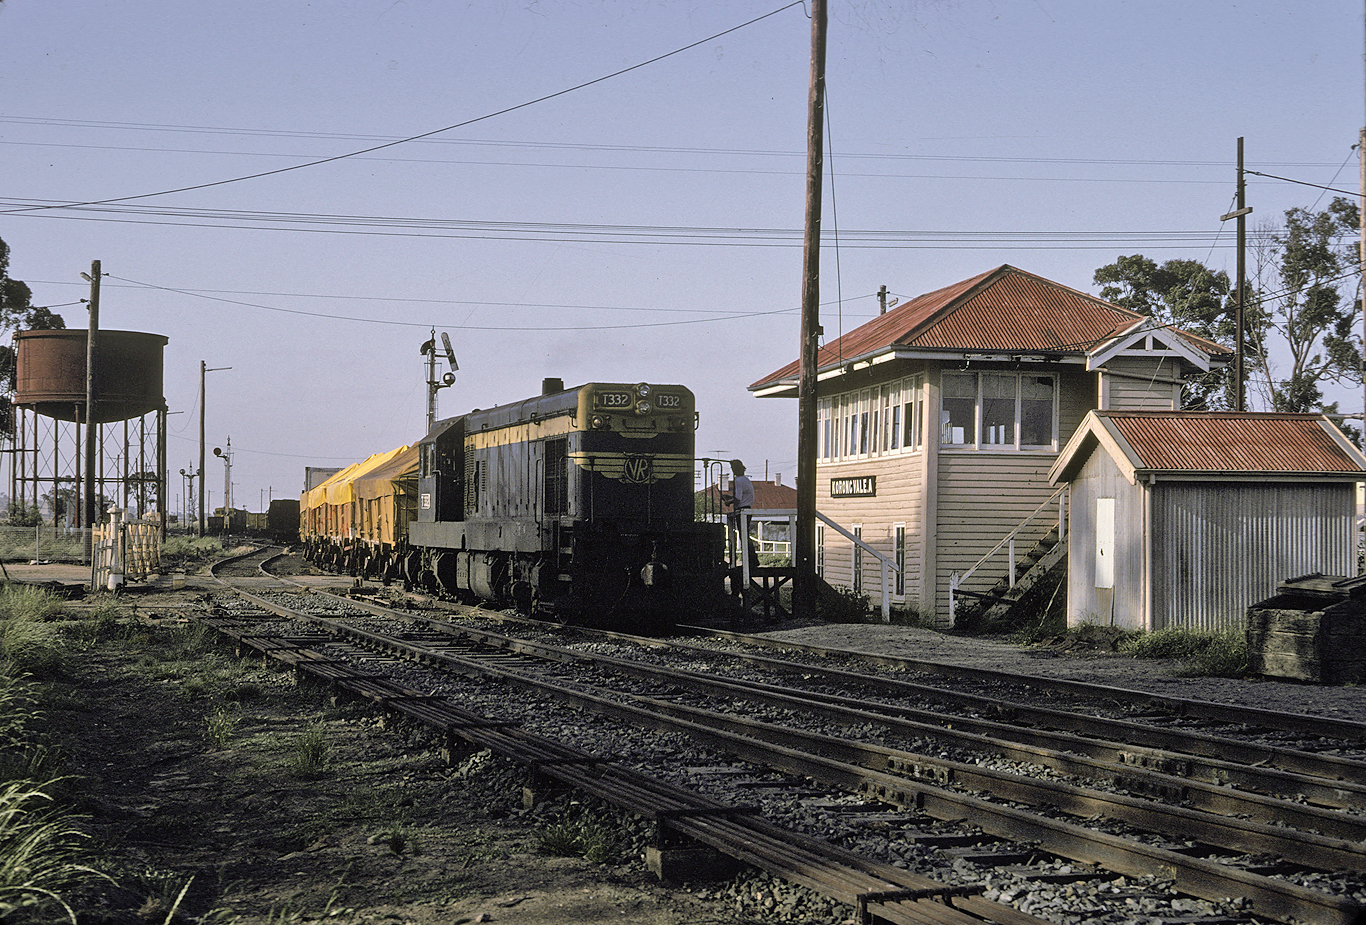
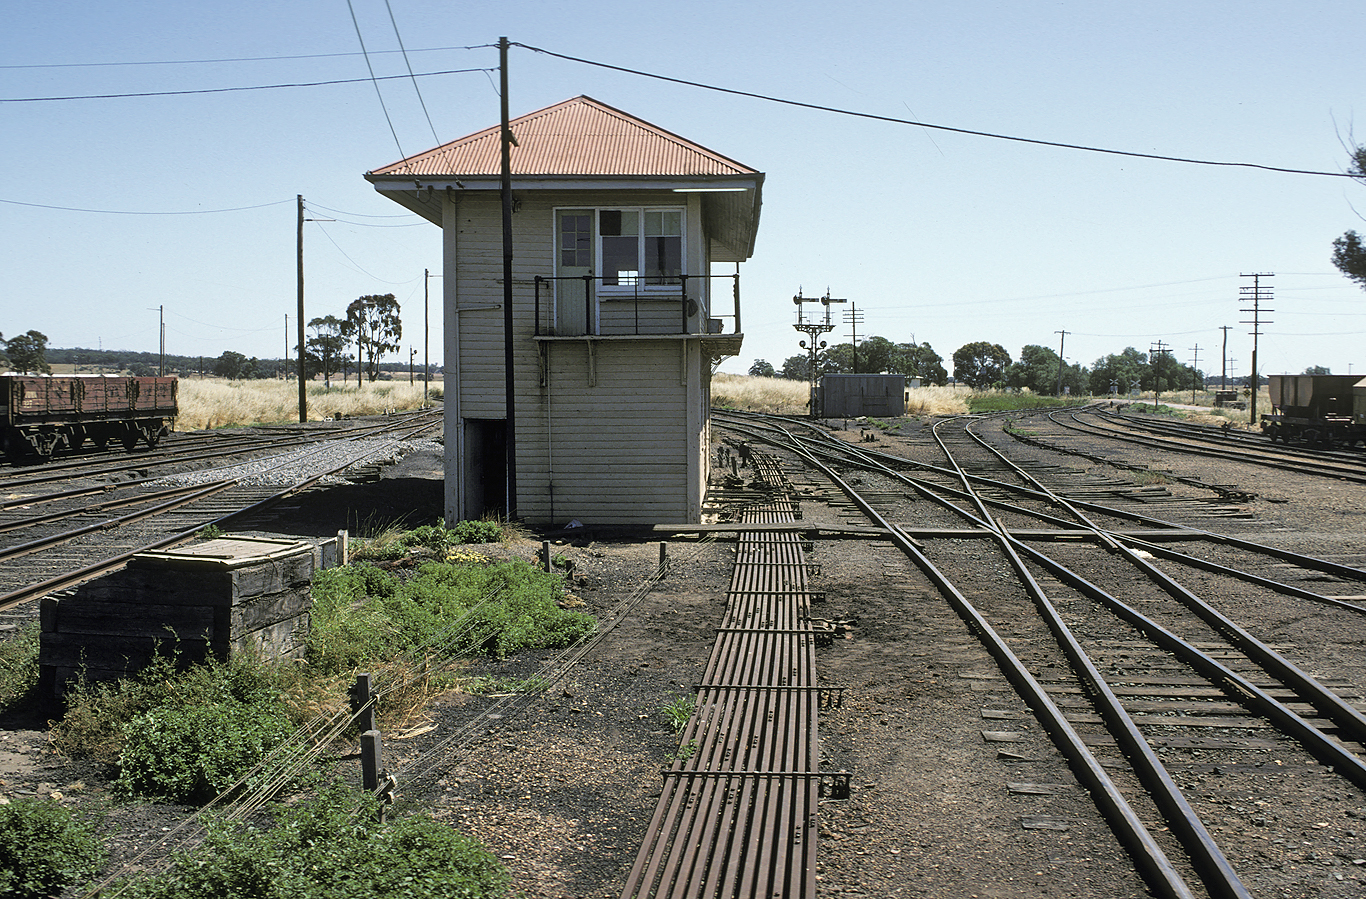
ABOVE & BELOW: Korong Vale A box, in addition to controlling the points and signals at the Bendigo end of the yard controlled two sets of interlocked gates over the Vernon street level crossing.
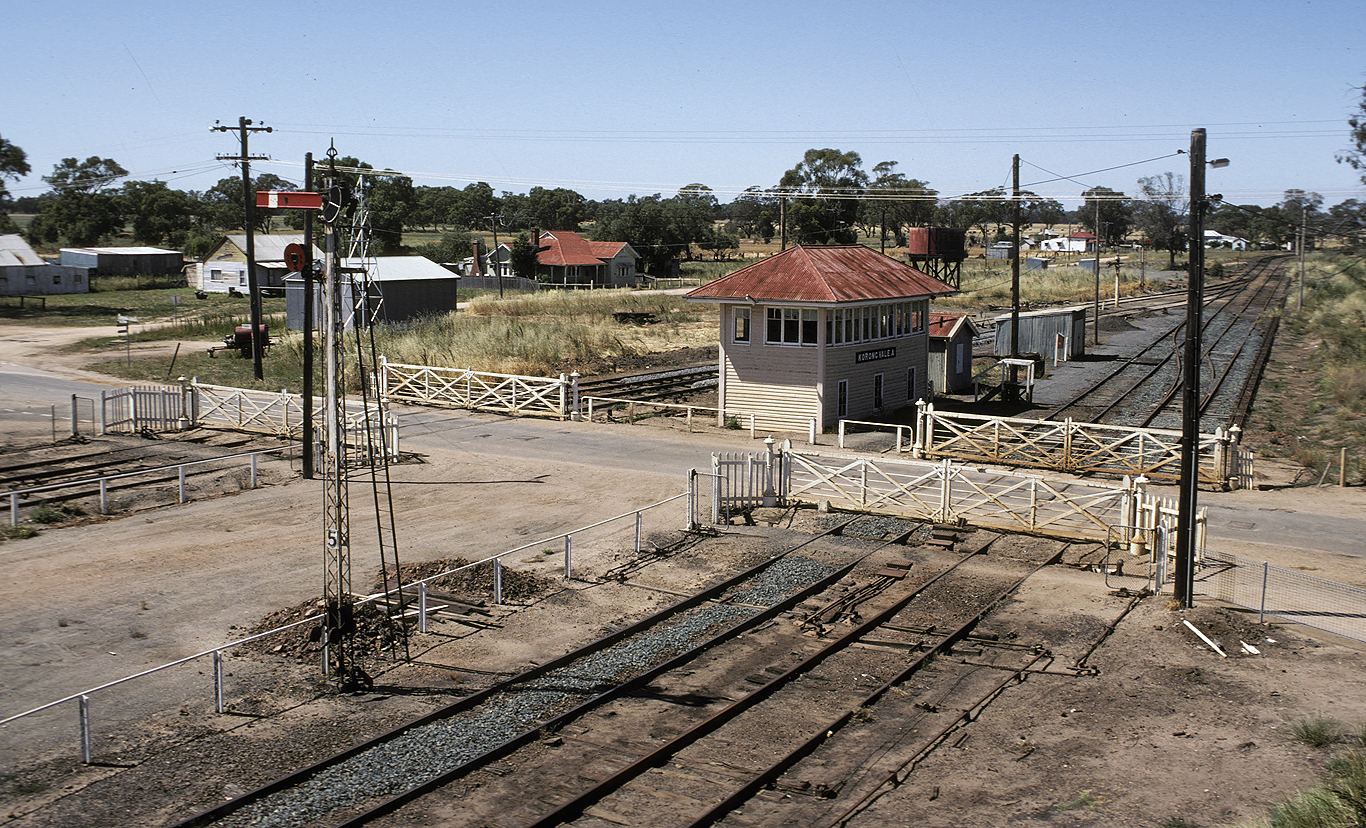
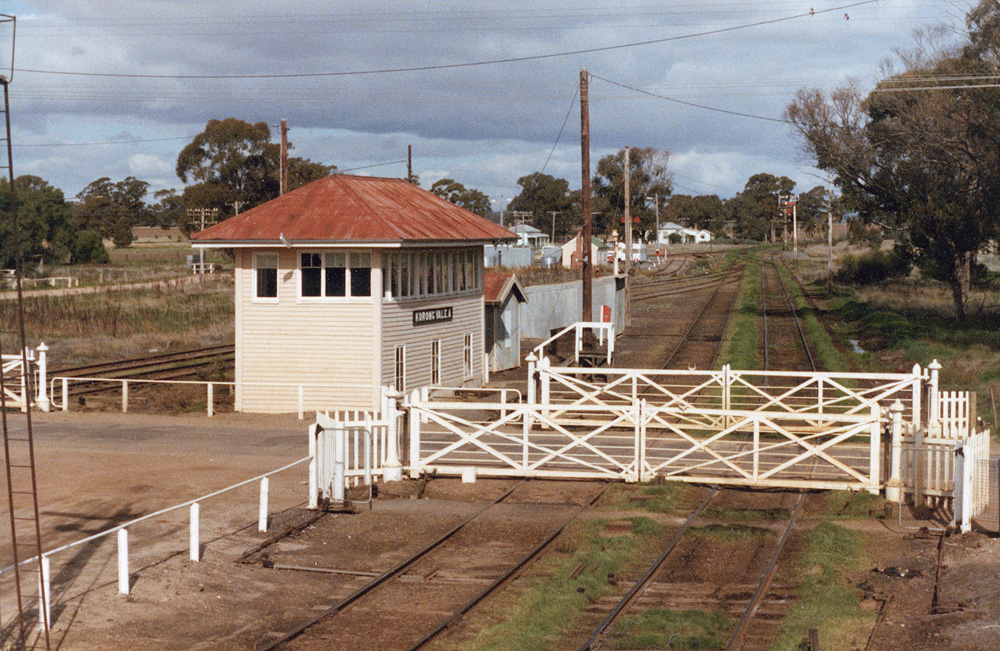

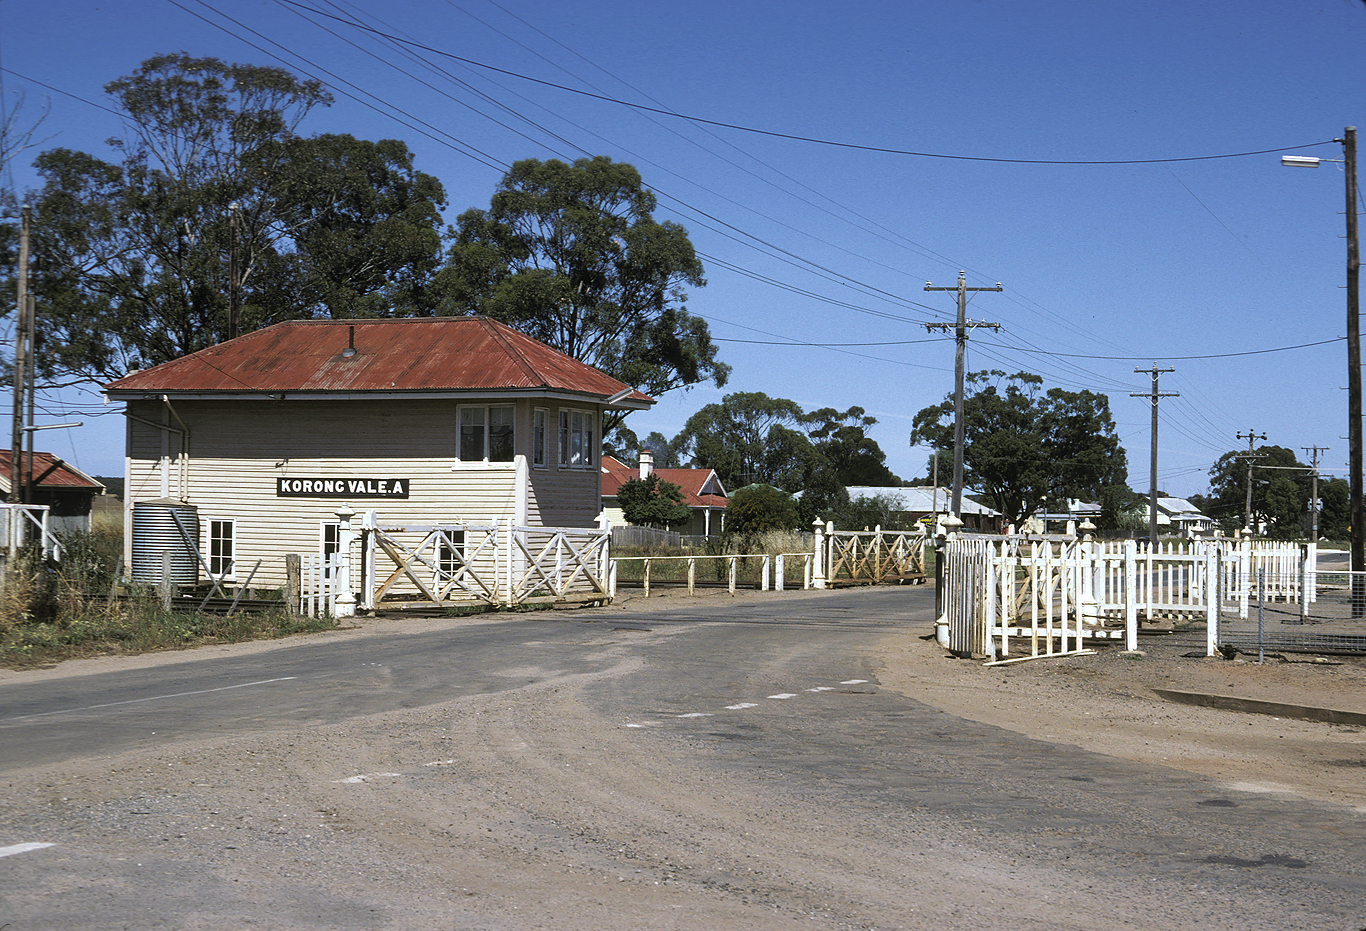


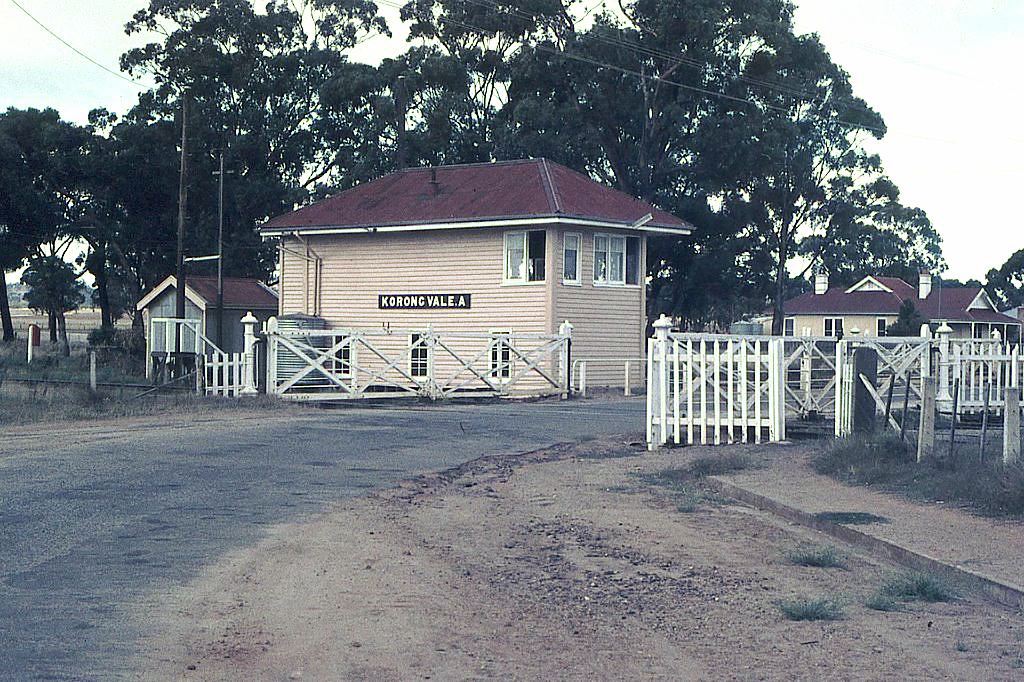
ABOVE: Korong Vale "A" controlled two sets of interlocked gates due to it being located between the two main running lines. Korong Vale was fully interlocked in 1916 which is when this box was built. It was abolished in 1983. Photo Feb. 16 1974 (photo courtesy John Ward)
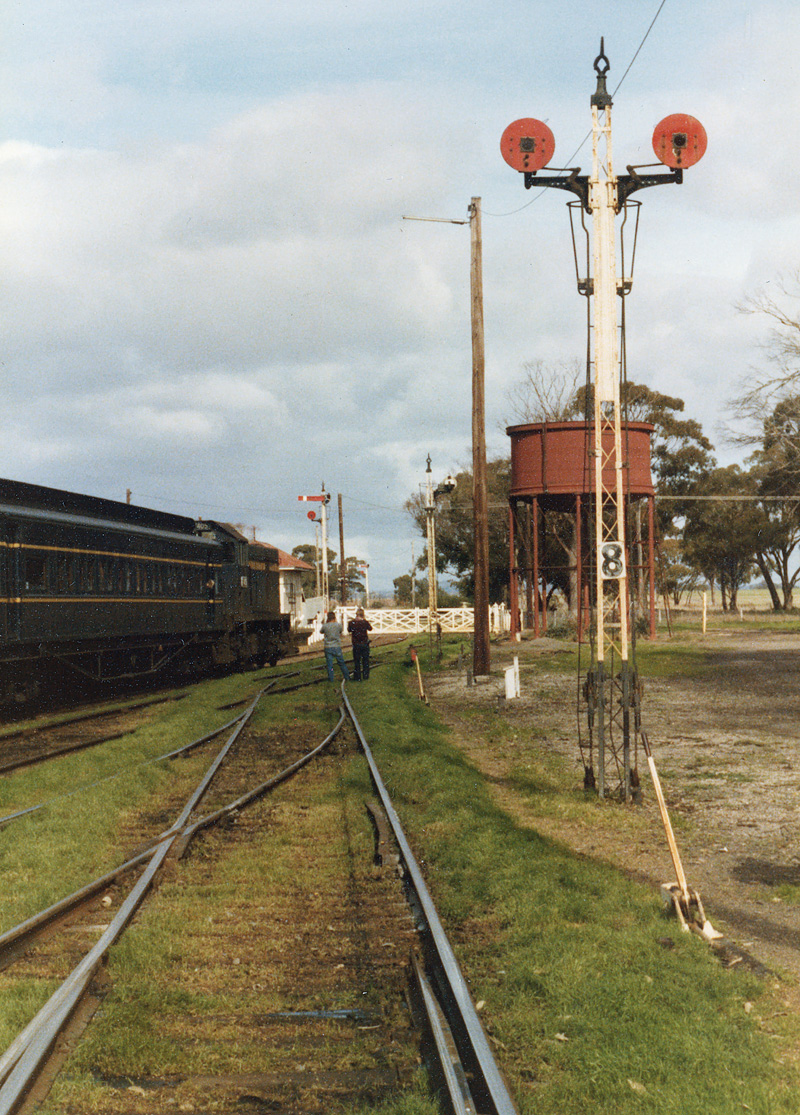
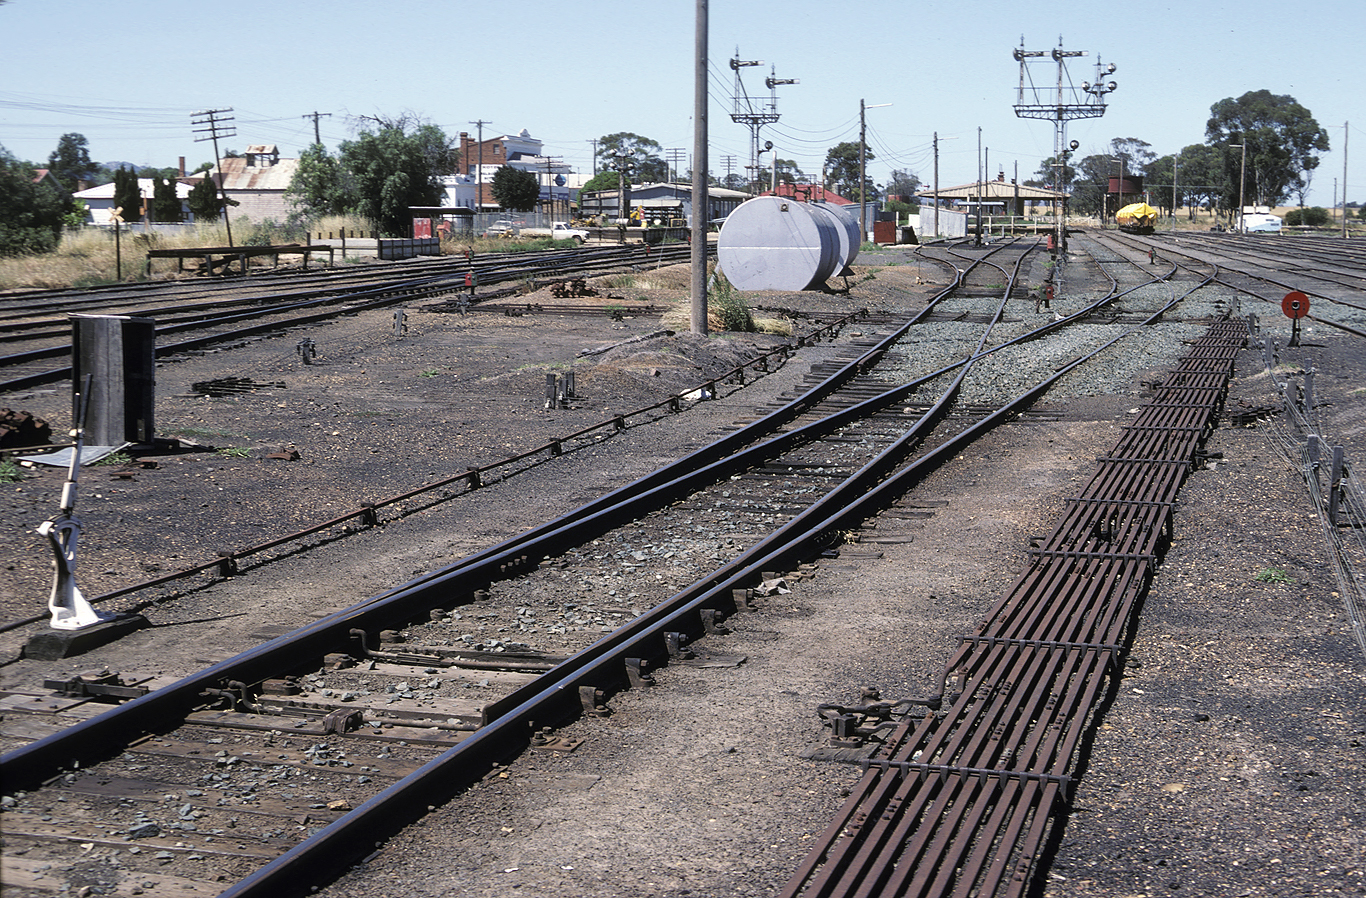
ABOVE: The view looking south from the island platform, Nov 1983. (photo courtesy Noel Bamford)
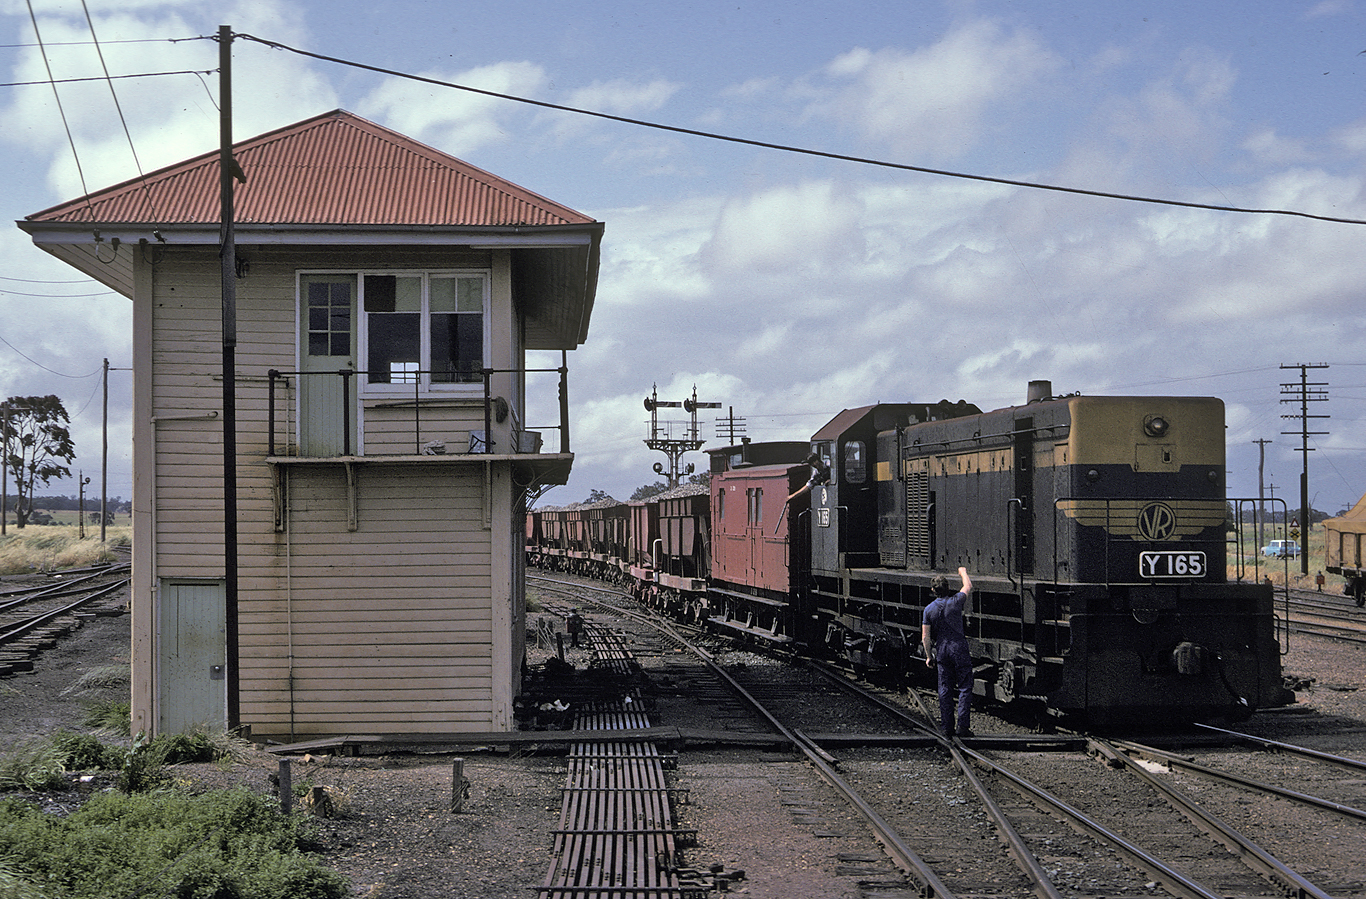
ABOVE: An up goods prepares to depart Korong Vale, BELOW: is picking up the staff to Inglewood from the signalman at Korong Vale A box, Nov 1983. (photo courtesy Noel Bamford)
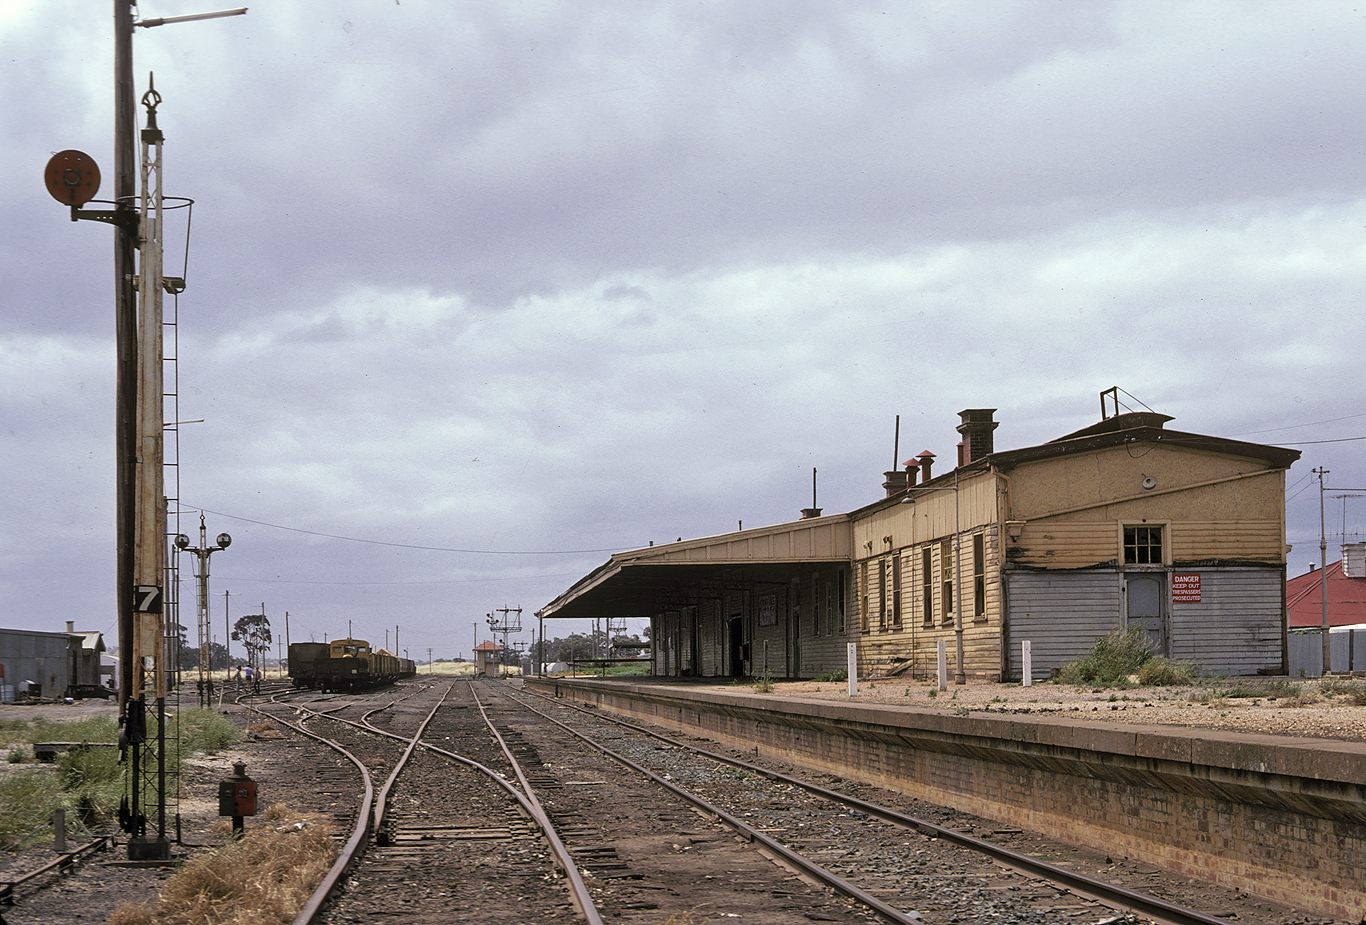
ABOVE & BELOW: Once passenger service was withdrawn, 1978, the station building rapidly fell into a state of disrepair, Nov 1983. (photos courtesy Noel Bamford)

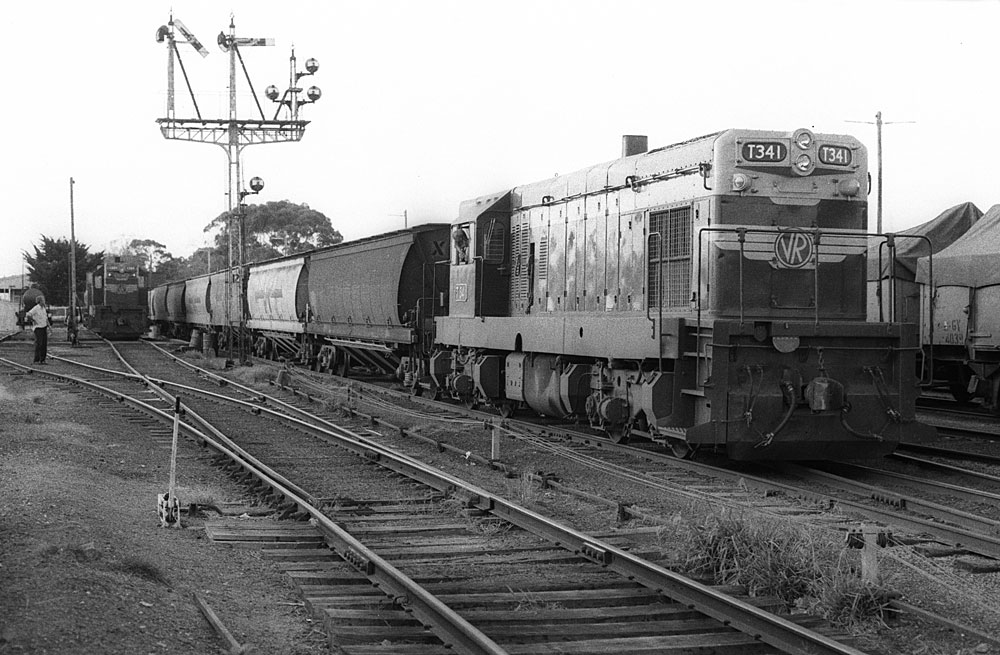
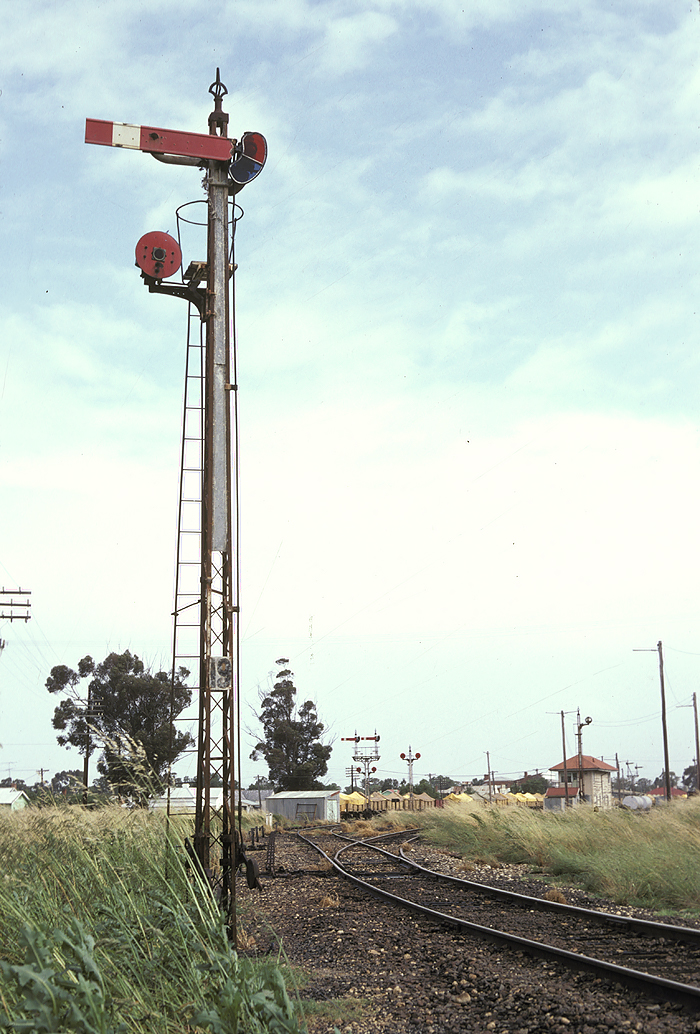
ABOVE: The home signal indicates that T 341 was departing Korong Vale to the Boort line but I can't remember if this is what was happening or if T 341 was just shunting. The two tracks on the left were called the "engine sidings" Jan. 1980.
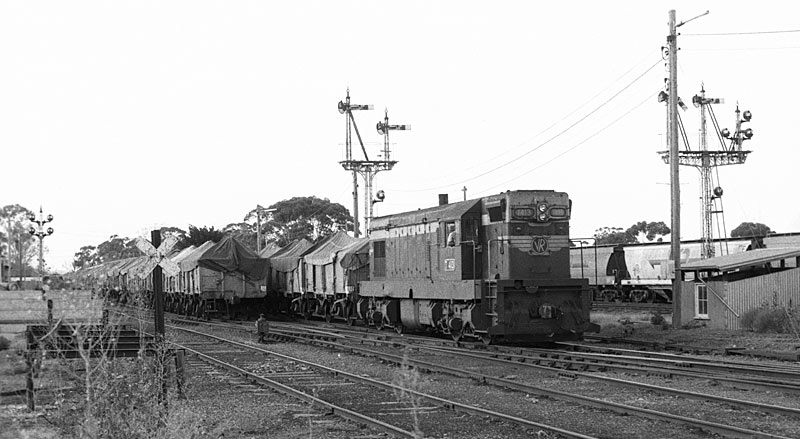
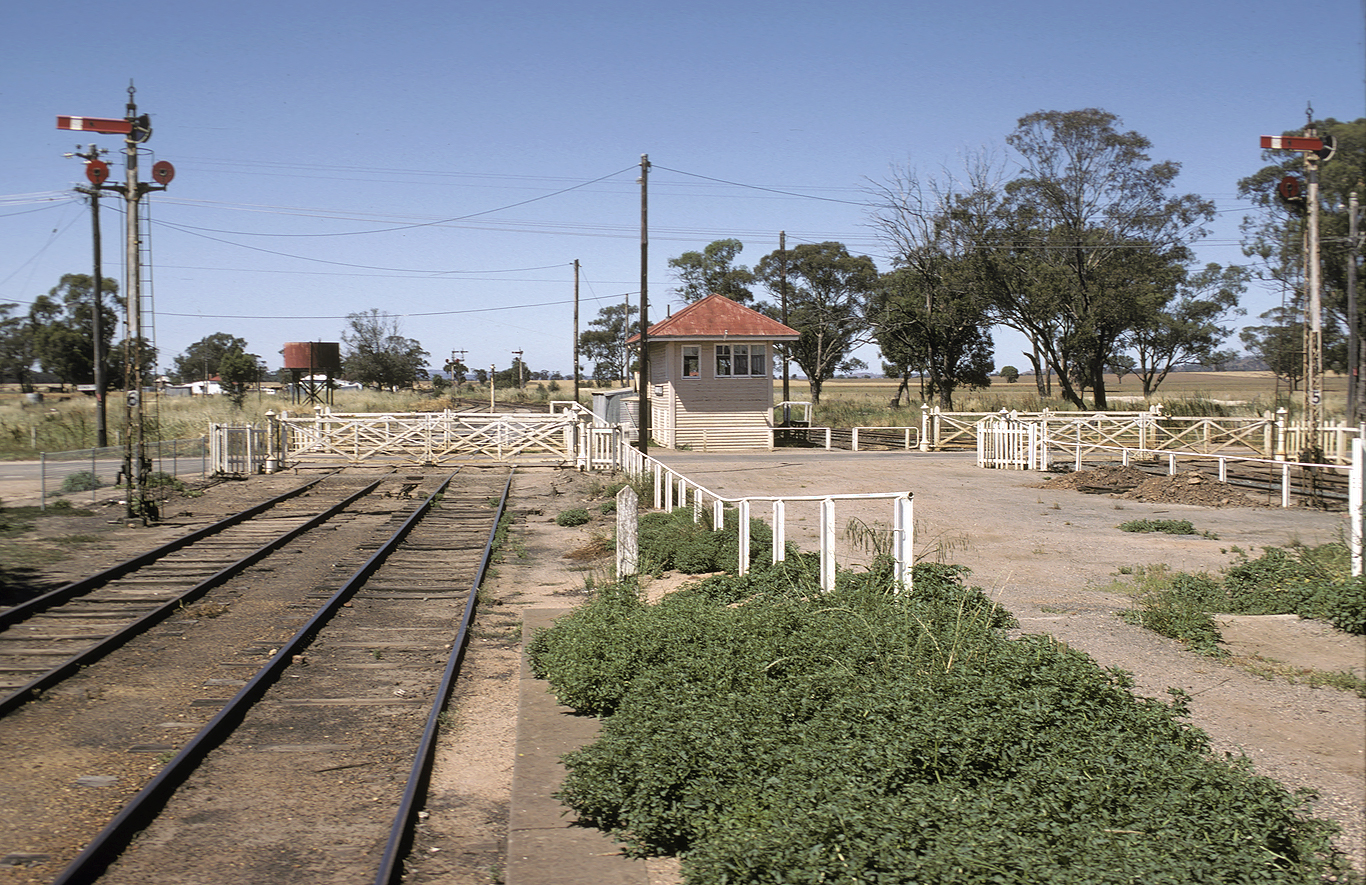
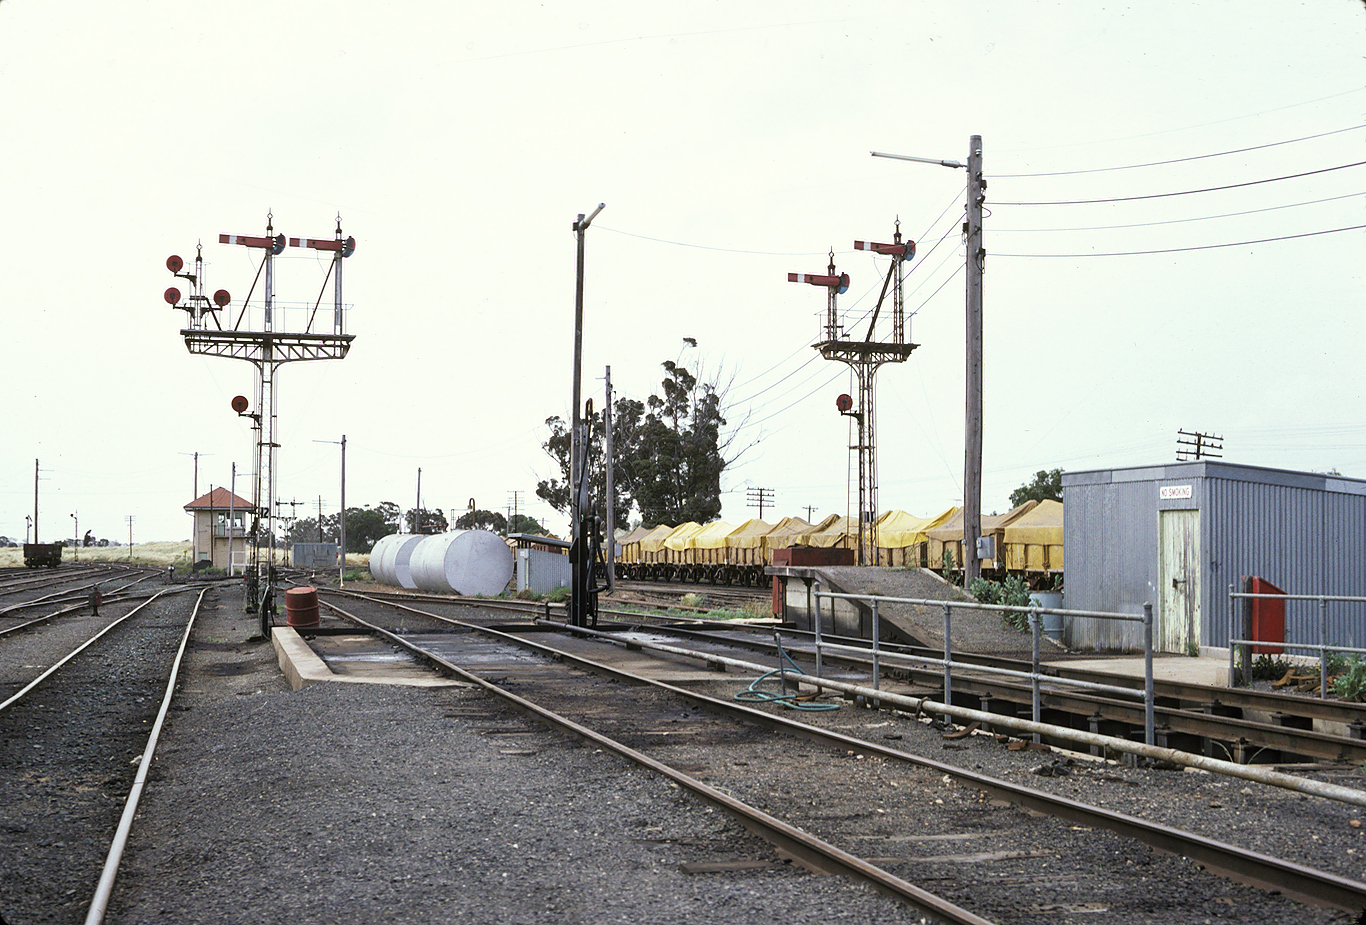
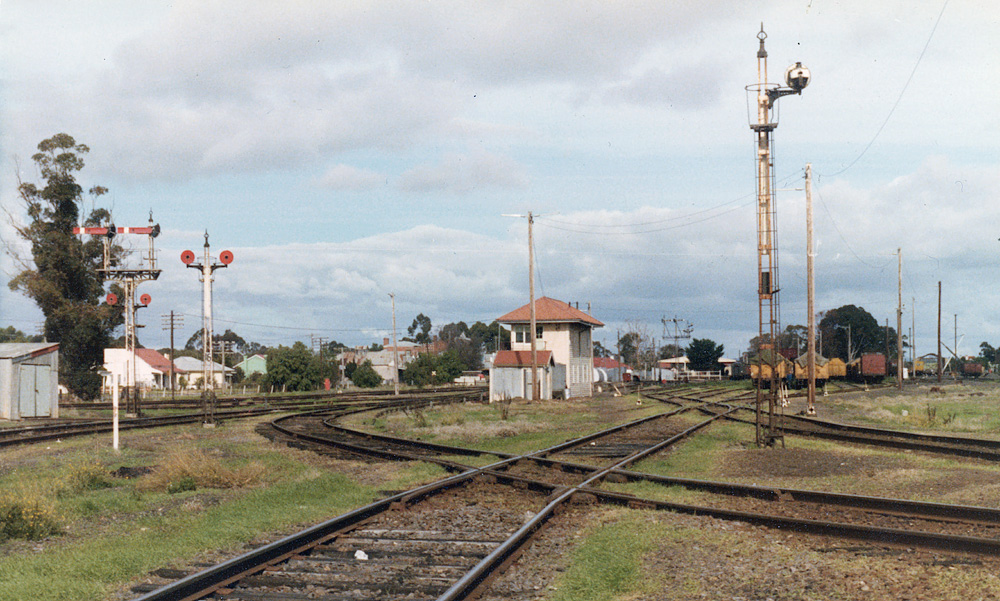
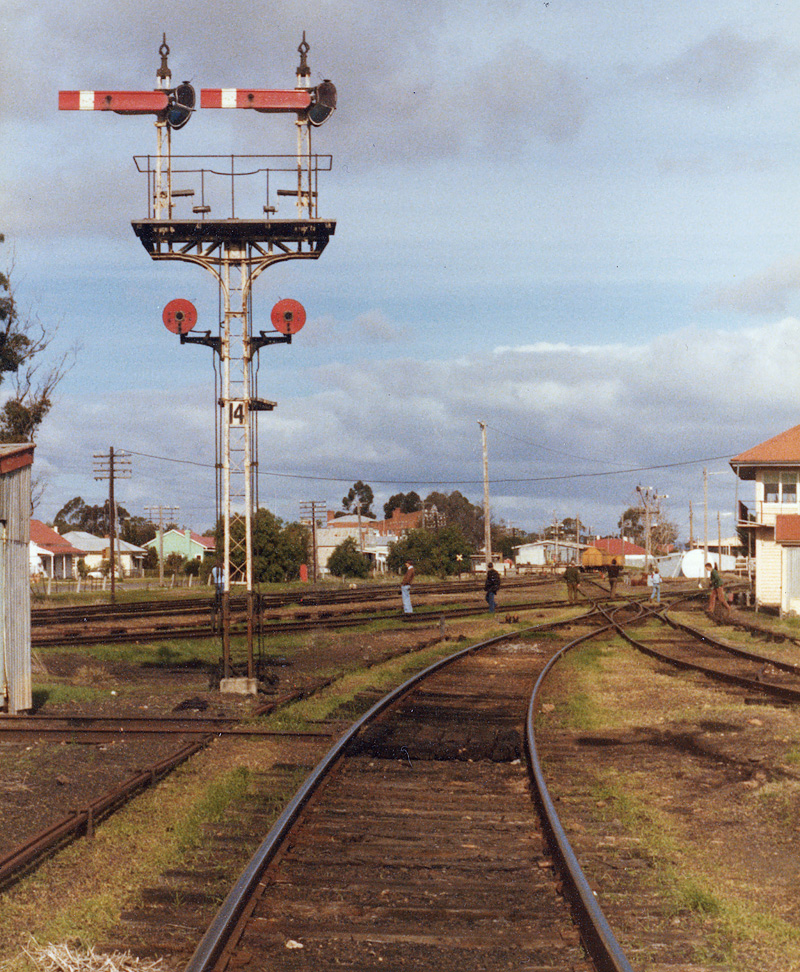
ABOVE: Post 12 was sited on the "wrong" side of track that it applied from and carried two departure home signals, the left arm for the Kulwin line and the right for the Robinvale line. B box is in the middle of the photo, Nov 1983. BELOW: A wider view of Post 12 also showing Post 11 which was the departure home from No. 3 road. The area in the foreground was the diesel loco fueling area and inspection pit. (photos courtesy Noel Bamford)
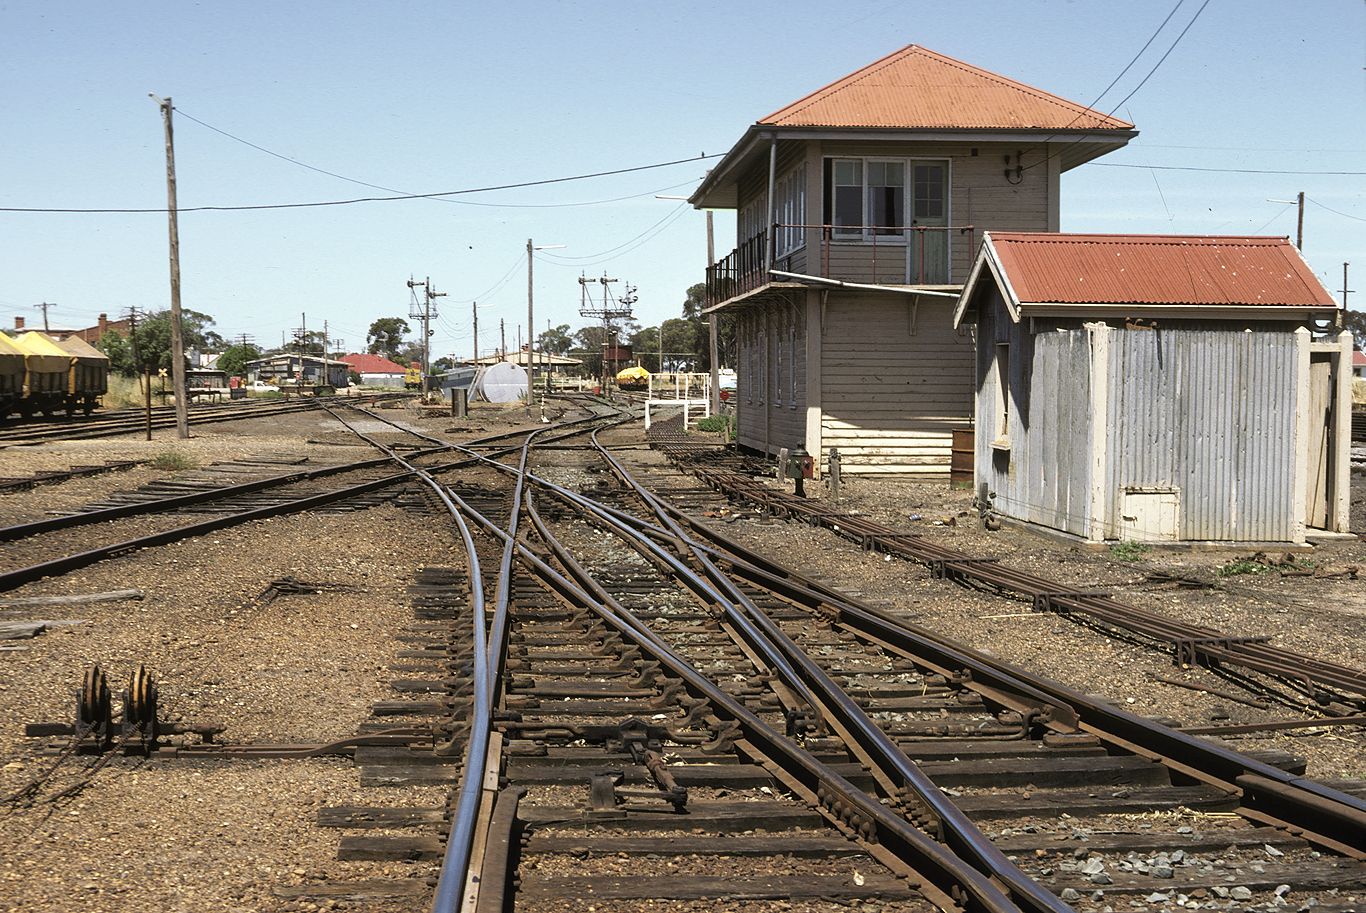
ABOVE: B box was situated right at the junction of the two lines, left track to Sea Lake, right track to Robinvale, photo looking north, Noc 1983. (photo courtesy Noel Bamford)
ABOVE: The signalman at B box collects the staff from the fireman on the ballast train arriving off the Sea Lake line, Nov 1983. (photo courtesy Noel Bamford)
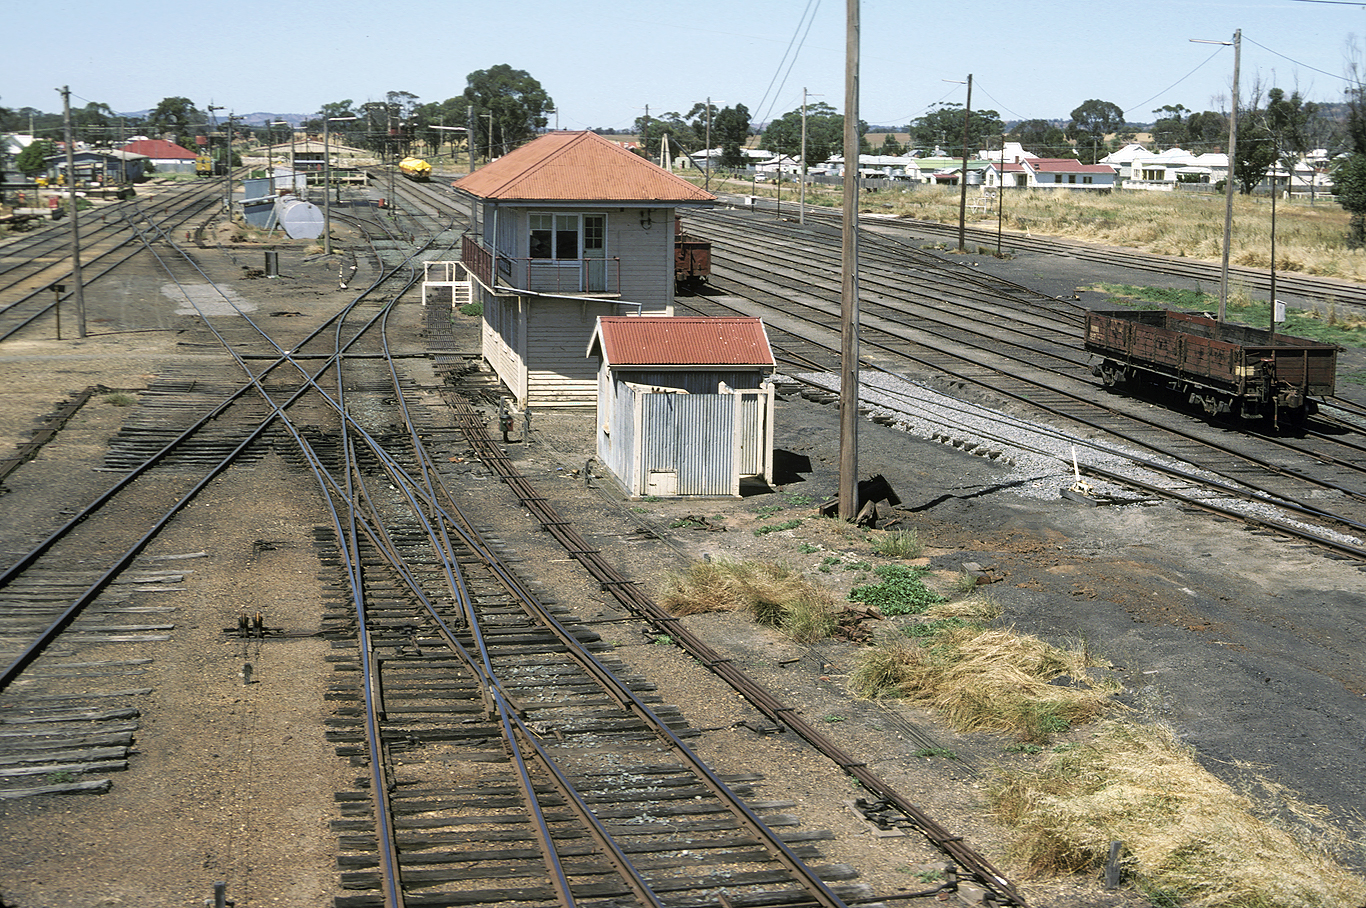
ABOVE: Looking South from B box. The Annett locked points took you to the Loco sidings, a late addition (1970) that occured after the end of steam and removal of the loco shed and turntable, Nov 1983. (photo courtesy Noel Bamford)
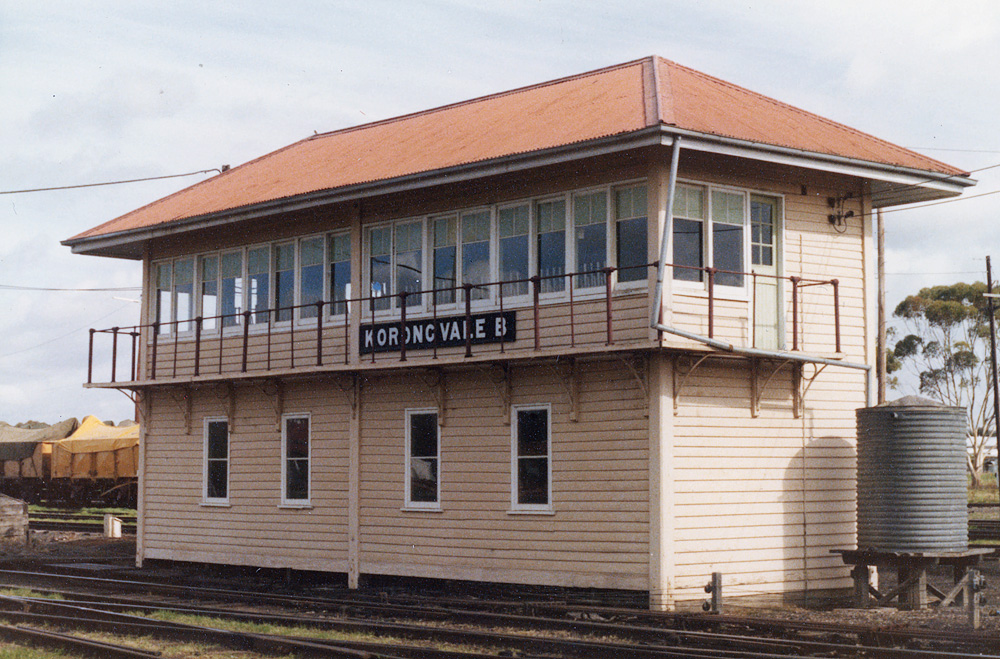
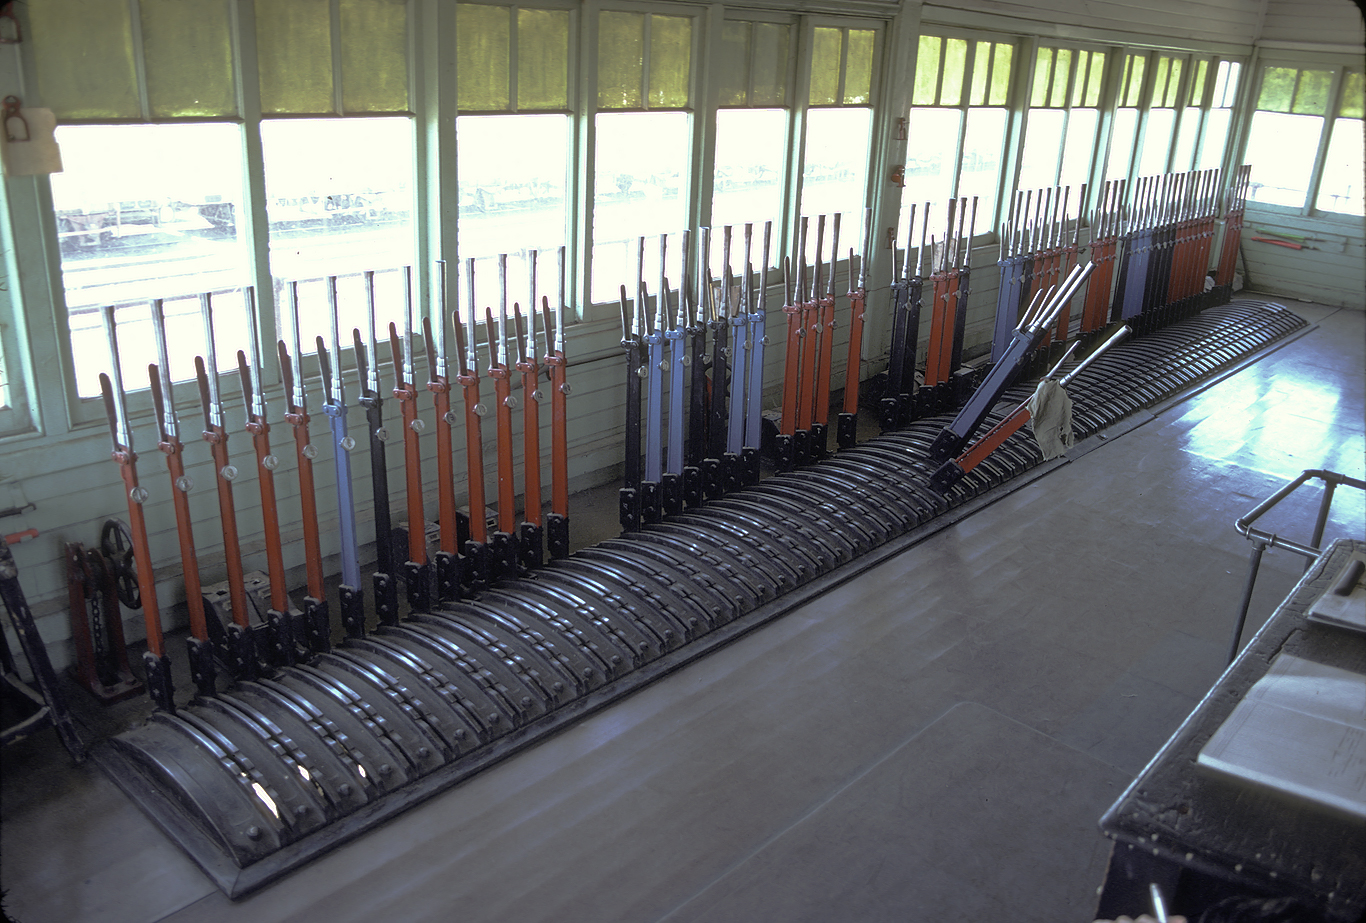
ABOVE & BELOW: Korong Vale B box controlled the junction of the Sea Lake and Robinvale lines as well as all points and signals at the down end of the yard. The frame dated from 1915 and by the late 1970s had 56 working levers. Nov 1983. (below photo courtesy Noel Bamford)
ABOVE & BELOW : Looking south at B box, the diamond crossing in front of the signalbow is where the two lines met, Nov 1983. (photos courtesy Noel Bamford)
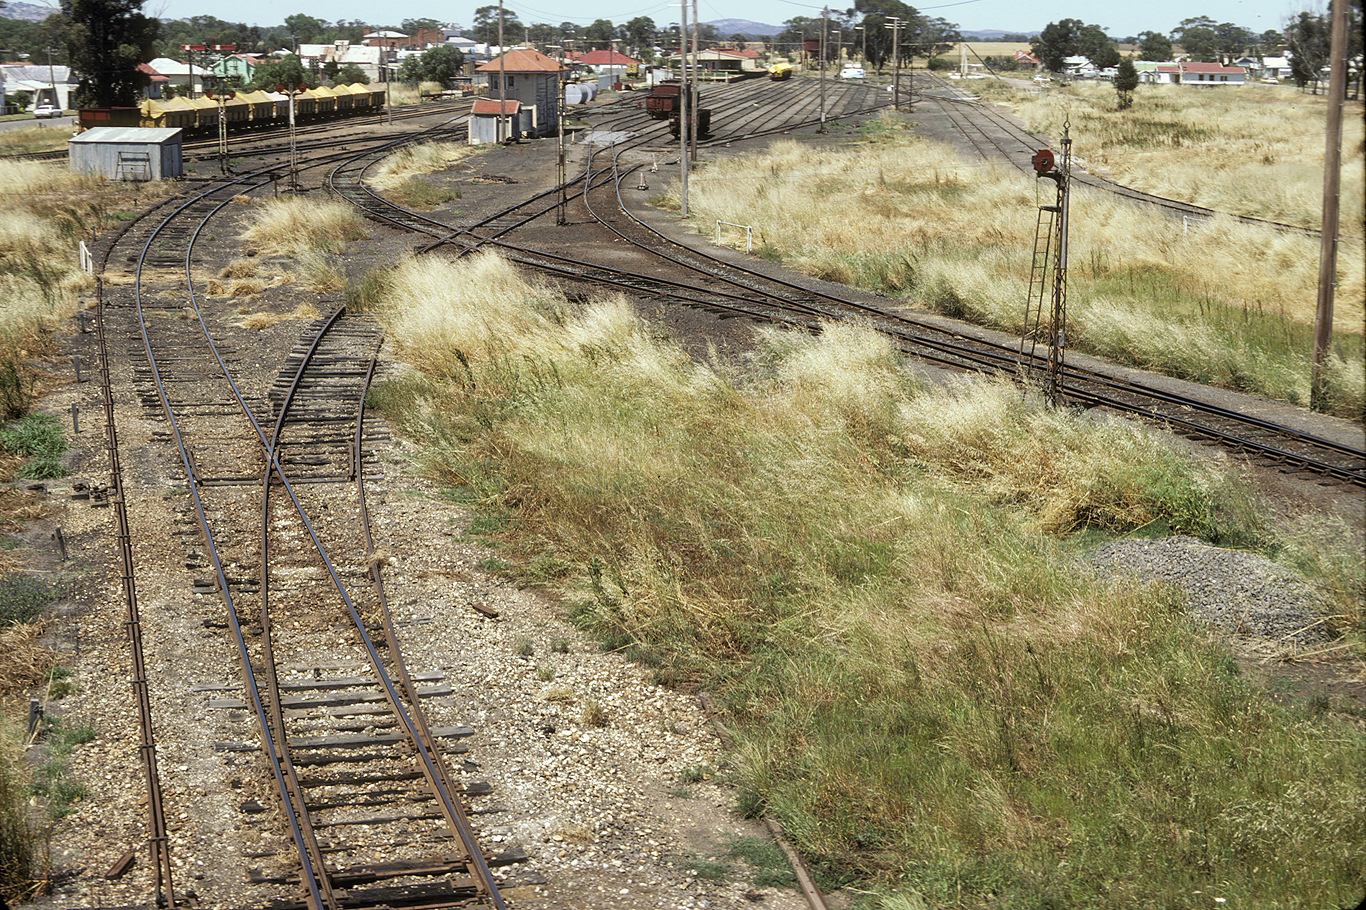
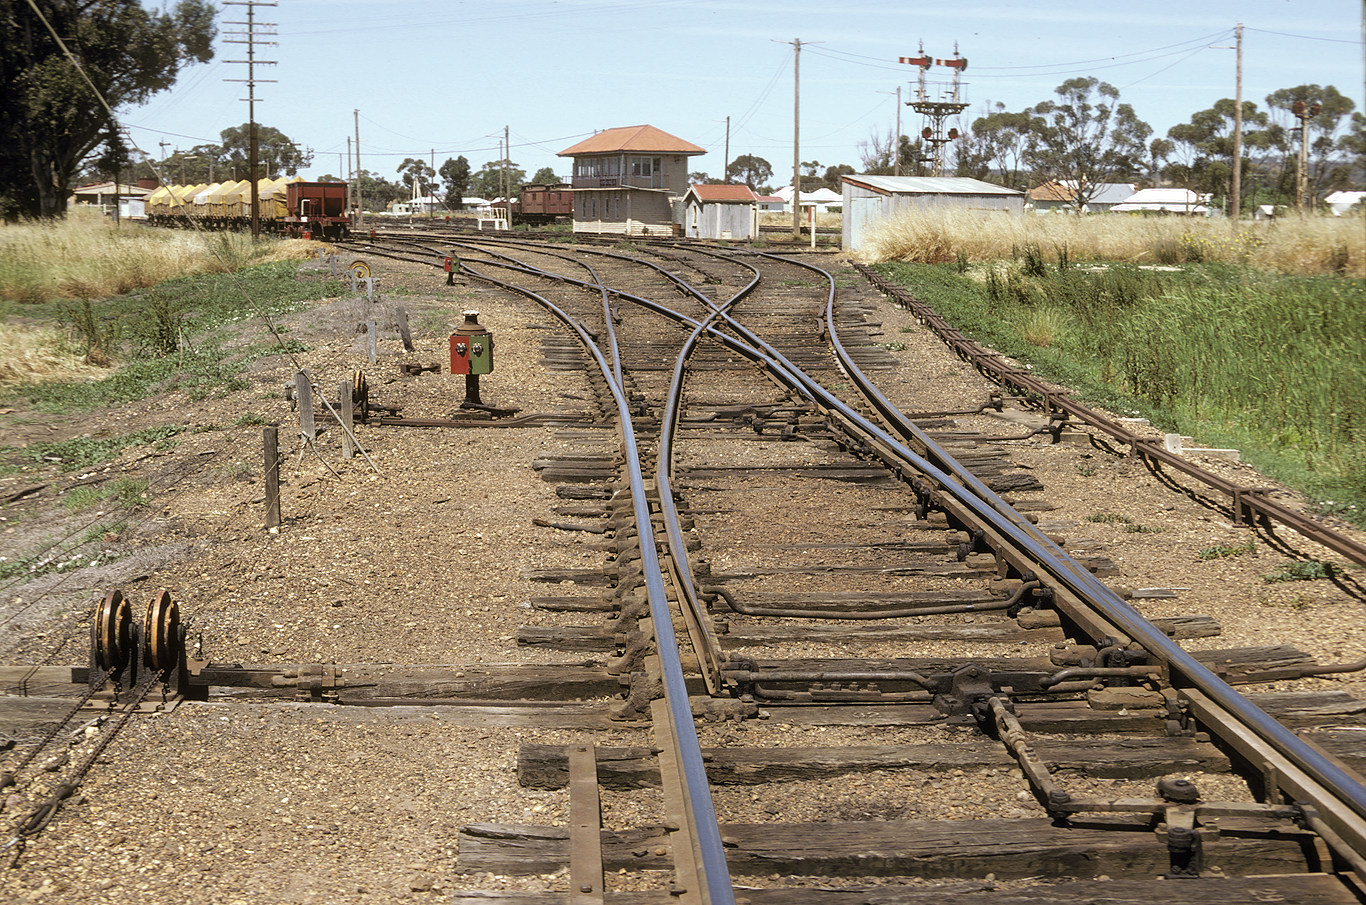
ABOVE & BELOW: Korong Vale had an 8 track marshalling yard which could be accesed without going into the main station area by the track curving sharply to the right which crossed over another yard track via a diamond crossing.
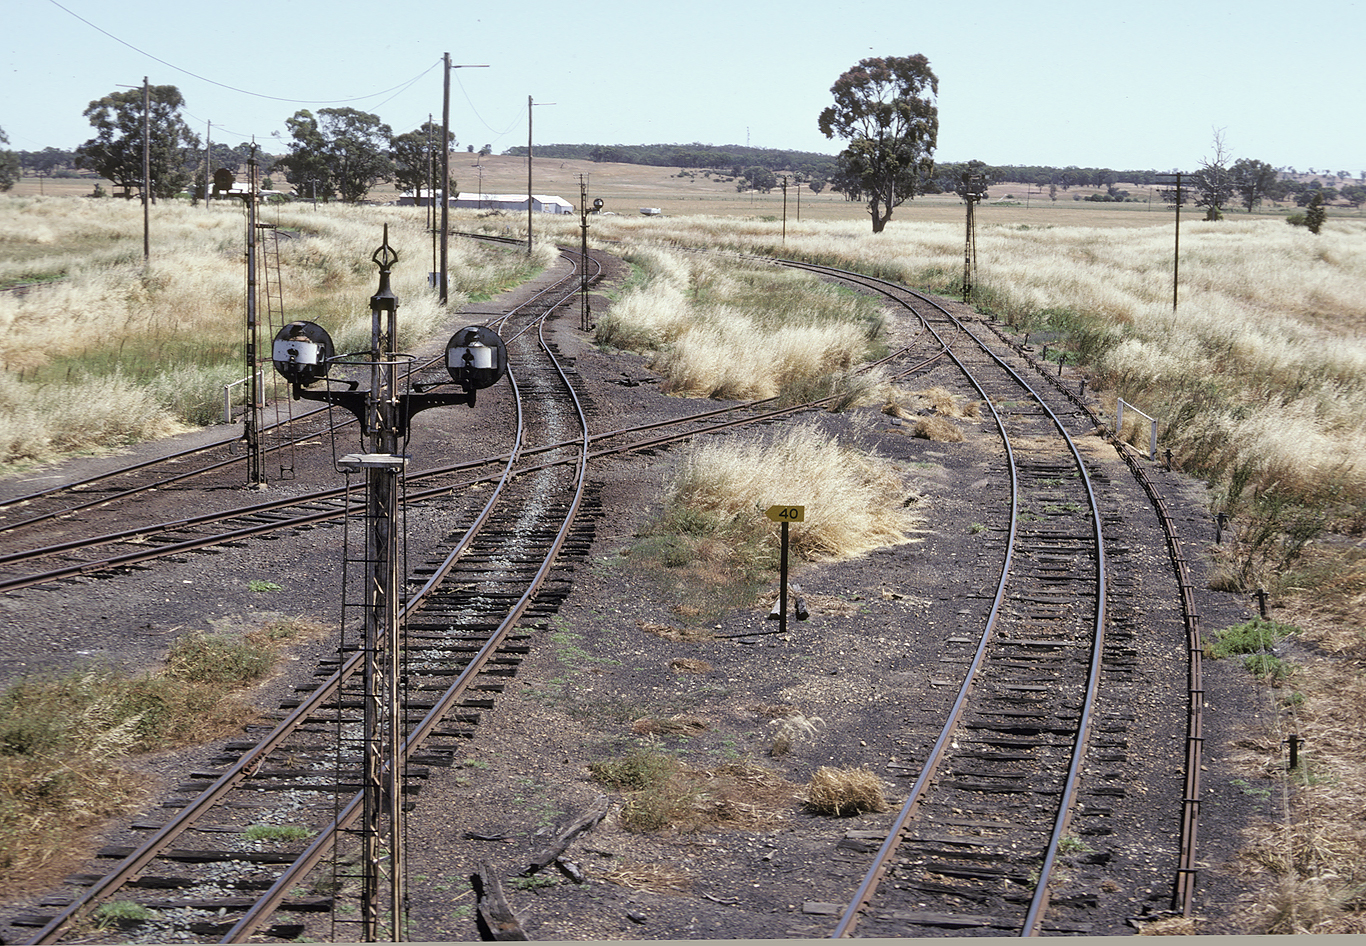
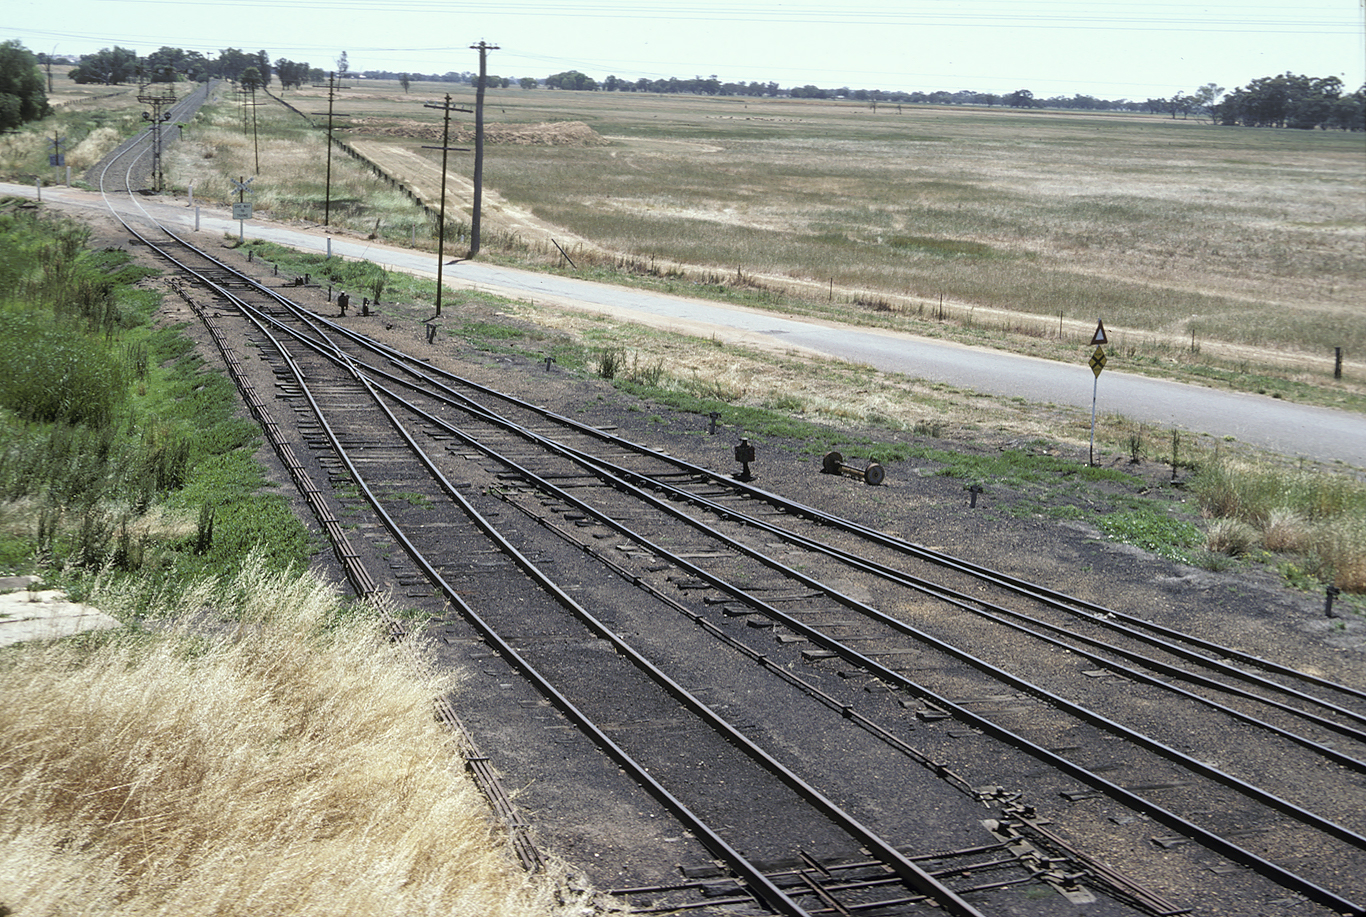
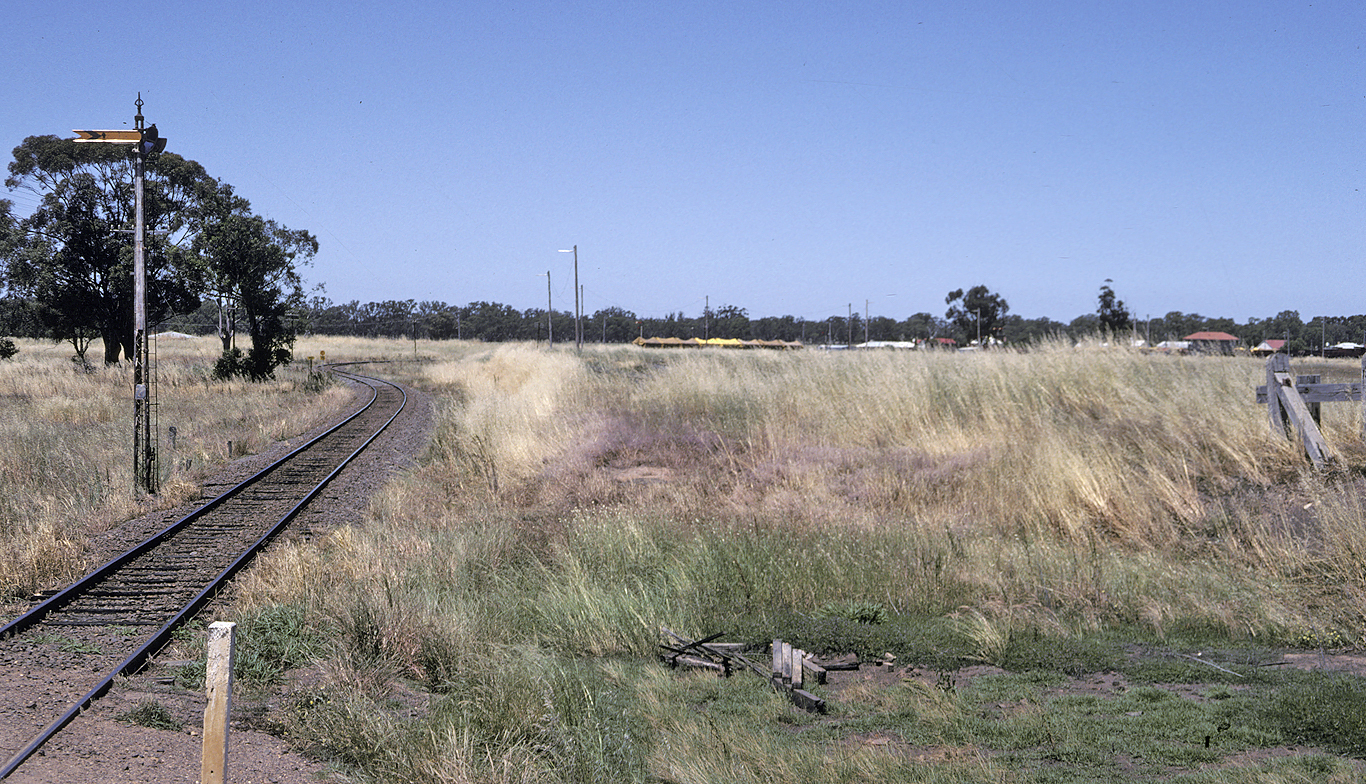
ABOVE: The Sea Lake line curving away from Korong Vale, the track curving away on the left was known as the "bank siding", Nov 1983. (photo courtesy Noel Bamford)
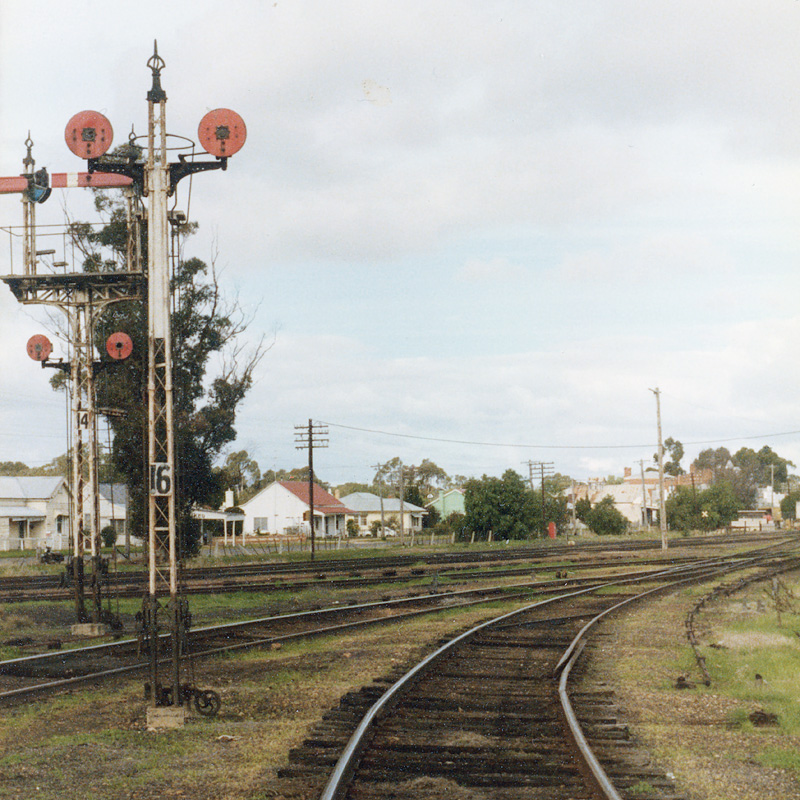
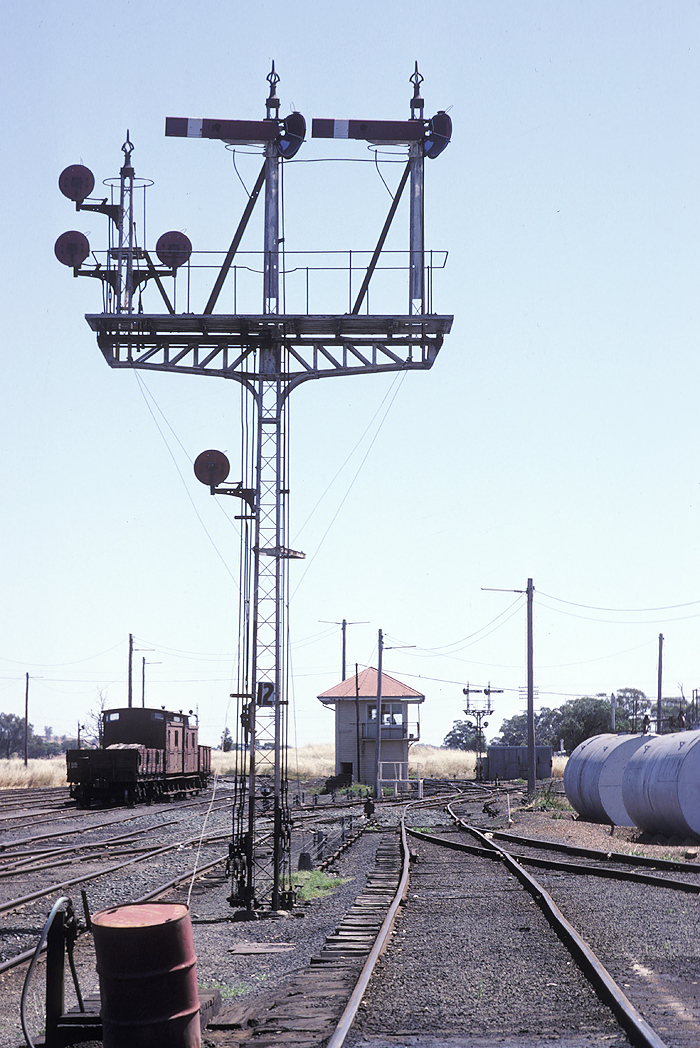
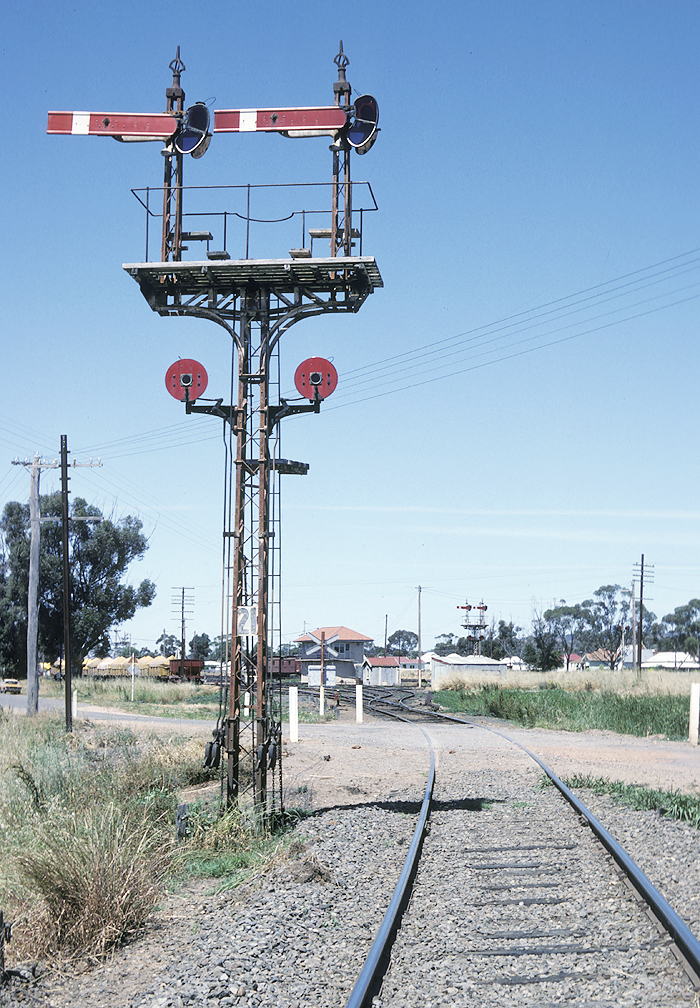
ABOVE: Post 19 was the outer arrival home from the Sea Lake line, the disc took you onto the right curving track which was a shortcut into the Marshling yard. BELOW: Post 14 was the inner arrival home from the Sea Lake line and protected the junction. Nov 1983. (photos courtesy Noel Bamford)
ABOVE: Post 21 was the up home arrival from the Robinvale line. (photo courtesy Noel Bamford)
ABOVE & BELOW: The pointwork just ahead of post 21, Nov 1983 (photos courtesy Noel Bamford)
ABOVE: Post 20, the up distant from the Sea Lake line.On the right are the buffers for the "Bank Siding", Nov 1983. (photo courtesy Noel Bamford)
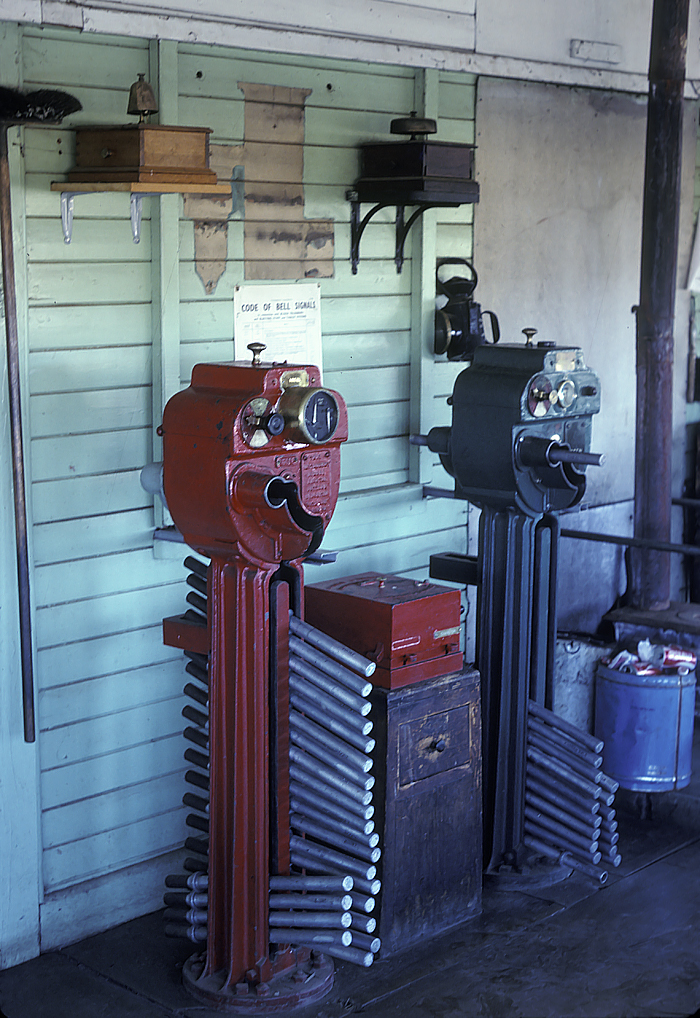
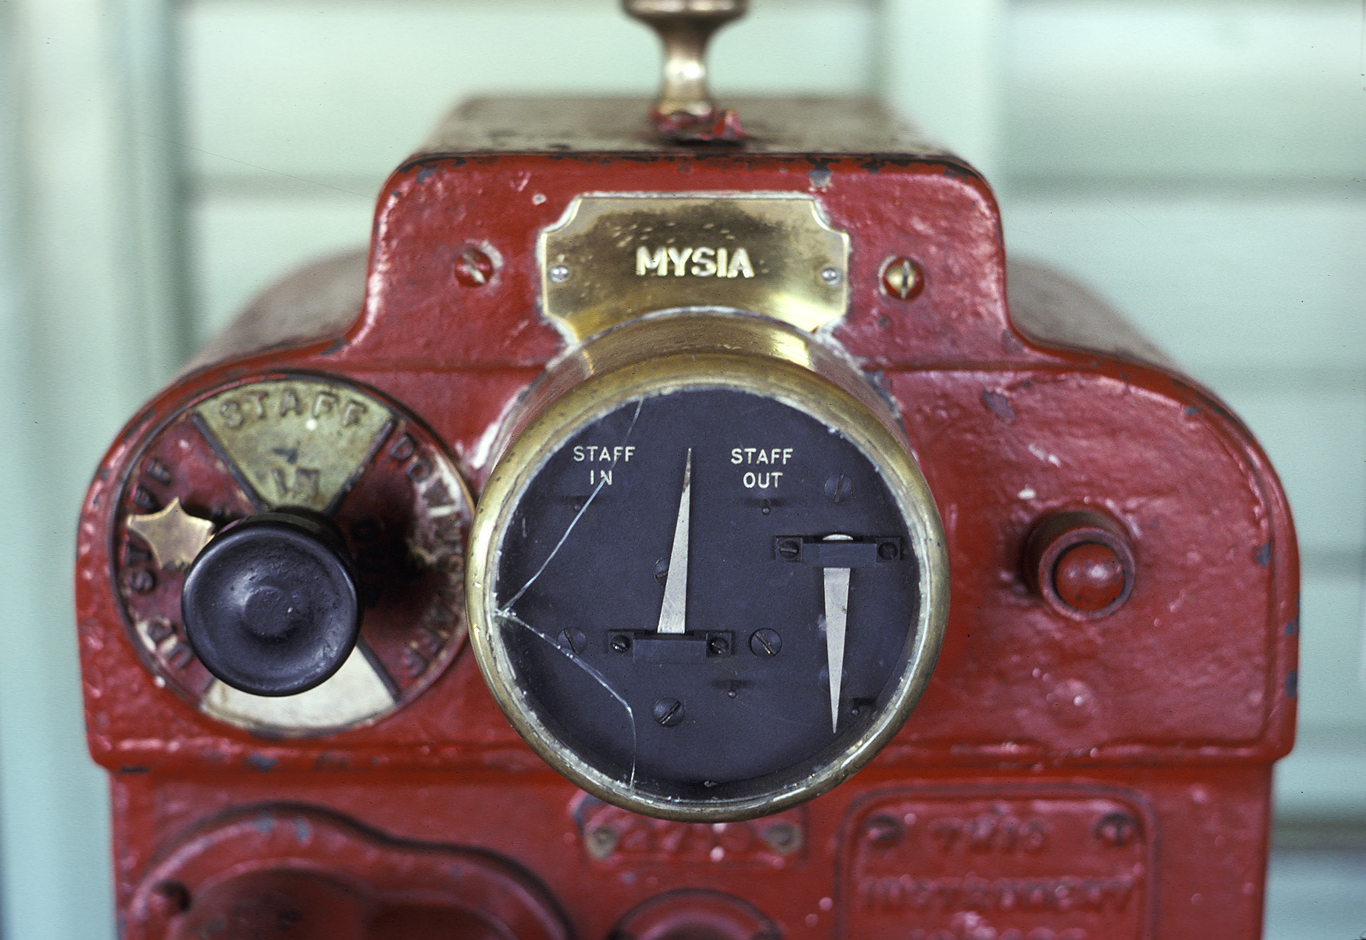
ABOVE & BELOW: The large electric staff instruments in B box, Mysia on the left, Charlton on the right, Nov 1983. (photo courtesy Noel Bamford)